
How to Make a Fall Wreath
Learn How to Make a Fall Wreath in no time at all with just a few simple and inexpensive supplies! Wreaths are such a pretty way to welcome in the season of fall.
Thank you so much for stopping by today! This post is part of the Seasonal Simplicity FALL DIY blog hop hosted by my friend Krista of Happy Housie. Make sure to check out all of the fall ideas and tutorials from my blogger friends in the links at the bottom of this post! xo
Is it even fall if I don’t make a wreath?! 😉 Seriously though, I love making wreaths for each season. And because I like to change up the colours in my fall decorating I end up making a new wreath every year and I’m not mad about it. I’m sharing a quick how-to so you can also make a pretty fall wreath in less than 30 minutes. You don’t even need a glue gun or floral wire!

Fall colours are the best.
Fall colours are my most favourite when it comes to home decorating. I love how warm and cozy rich shades of red, gold, orange and rust can make a home feel. This year I could hardly wait until September 1 to get started on my fall decorating because I am SO ready for summer to be over and for fall to arrive. So now that September has officially arrived, I’m kicking off my fall home decorating with a simple DIY Fall Wreath loaded with rich colour.

I seem to have a pattern.
If you’ve been here before you likely already know that I love to make wreaths and I seem to make them all in a similar style…but if you like something why not, right?! I love the look of florals bunched together at the bottom of a giant grapevine wreath base. This ‘recipe’ is easy to replicate and looks so nice. Then for each season all I just change the florals, colours, sprigs and greens. For example last fall I made this Yellow/Blue Sunflower Fall Wreath, the year before that I made this Purple/Yellow Fall Floral Wreath, then this year I made this Burnt Orange Fall Wreath…all three are similar in shape and style, but look completely different.

Go big or go home!
Kidding aside, I do love a giant wreath…I’m all for the bigger the better in this department. I just really love the large scale of a giant wreath…larger means more flowers and stems which means big impact. But you can easily scale this wreath down with a smaller grapevine wreath base.


Mix and Match!
Use loads of colour, texture and pattern in your wreath! For my fall wreath I used many different sizes, shapes and colours of floral stems…sunflowers, grasses, leaves and other fall flowers. I also found a gorgeous fall-coloured plaid ribbon that ties everything together. I think all the different colours and textures works so well together.


I mean, just look at all that colour! So pretty.


Where to hang your wreath?
The first place we think of when it comes to hanging a wreath is on the front door. But they also look really great on a mantel, on an inside door or even on your wall. Last fall I had mine on my fall mantel and I may do that again, but I am also LOVING how it looks on my new door.

I’m really happy with how my fall wreath turned out this season! Now I can’t wait to get decorating inside…stay tuned for some fall home tours coming soon!

SUPPLIES To Make A FALL WREATH:
I buy all of my wreath supplies at Michaels with the 40% coupon so the wreath ends up being quite inexpensive. Here’s what you need:
- 1 grapevine wreath base: in the size of your choice. I use the 24 inch wreath bases from Michaels. They’re big, but fit on my door…I like my wreaths big haha
- floral stems: I used about 10 different floral stems (grasses, sunflowers, leaves, fall flowers) and cut them into pieces so I could stuff them into the wreath base
- feathers: I used about 8 chocolate coloured feathers
- ribbon: I used a plaid ribbon from Michaels as well

HOW TO MAKE A FALL WREATH:
The best thing about making a wreath for fall is how easy they are to put together. You don’t even need a glue gun or floral wire to secure anything to the grapevine wreath base, I just make sure the floral stems are long enough to stuff into the base. I also really like this method because I can reuse the stems and the base for each season…in fact this wreath base has been used for 5 different wreaths! Here’s a quick tutorial for you:
- Hang the grapevine wreath base on a wreath hanger on an inside door. I like to do this because when I put my wreath together I can see what I’m doing. It’s much easier to put together a wreath while it’s hanging in front of you, rather than trying to make a wreath while it’s laying on a table.
- Make it symmetrical. The key to this wreath is to make it symmetrical.
- Start at the base: I started by stuffing in 5 sunflowers at the base of the wreath…one small one, one big one, one small one, one big one and one more small one.
- Then continue to stuff different floral sprigs, 2 at a time, one on each side for balance. Basically, what I do to one side of the wreath, I do to the other.
- Keep stuffing until it looks the way you like. Balance with different colours and textures.
- Step back, have a look and see if both sides mirror each other, and add and adjust as needed.
- Then to finish it off I make a simple bow for the base of the wreath, leaving long trailing ribbon.
- That’s it! So easy!

More of my Fall Wreaths
- Purple/Yellow Fall Floral Wreath
- Fiery Autumn Leaf Wreath
- Yellow/Blue Sunflower Fall Wreath
- Simple Grass Wreath
- Cozy Autumn Yarn Wreath
- DIY Fall Floral Embroidery Hoop Wreath
MORE FALL DIYs to Inspire You
Now make sure to check out these beautiful fall projects. I hope you’ll be inspired to make something for your home. Happy fall y’all!

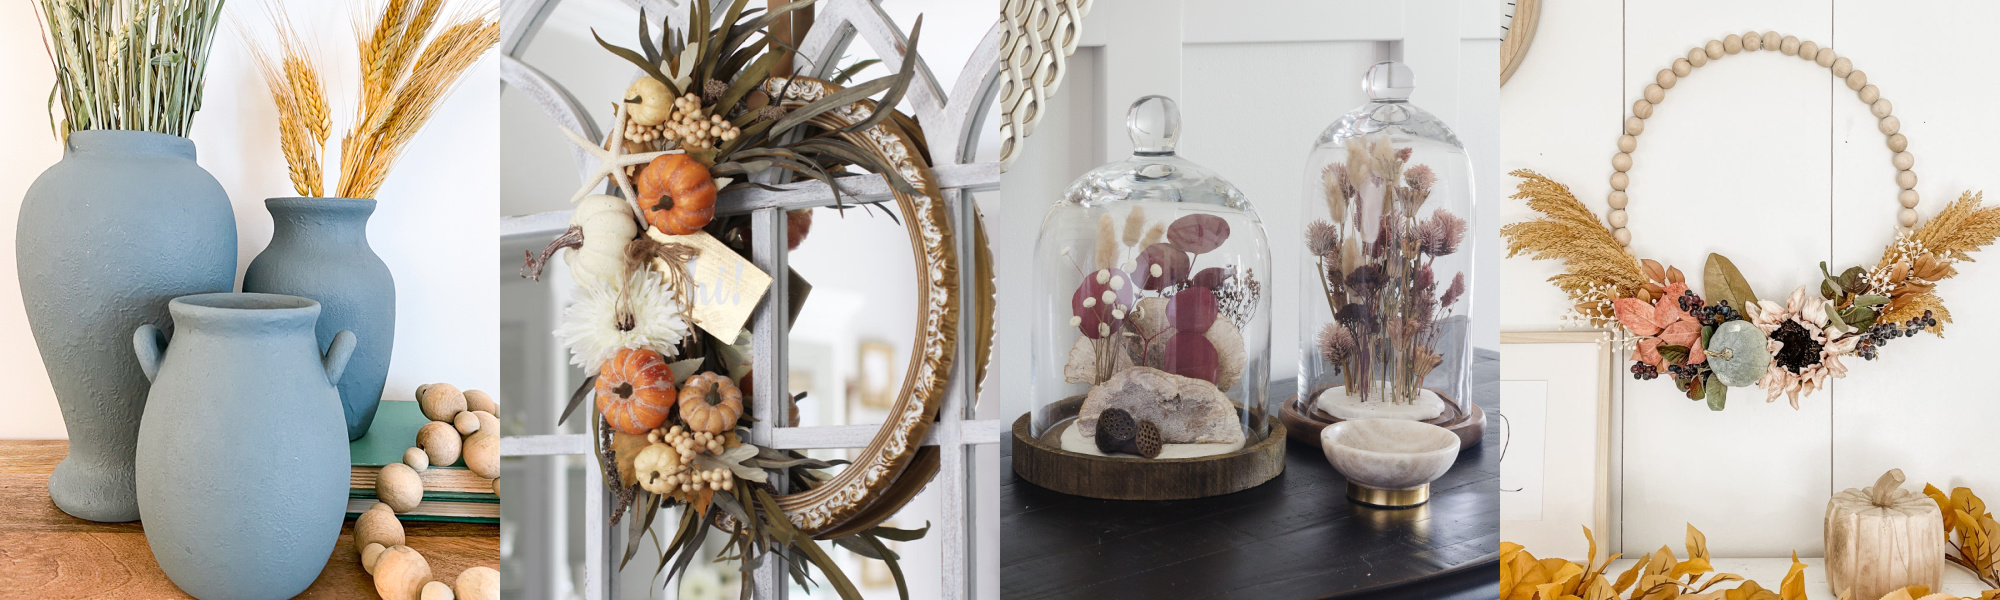
DIY Textured Vase at The Happy Housie
DIY Fall Frame Wreath at Confessions of a Serial DIYer
Dried Floral Cloche at Deeply Southern Home
Fall Wreath How-to at Hallstrom Home
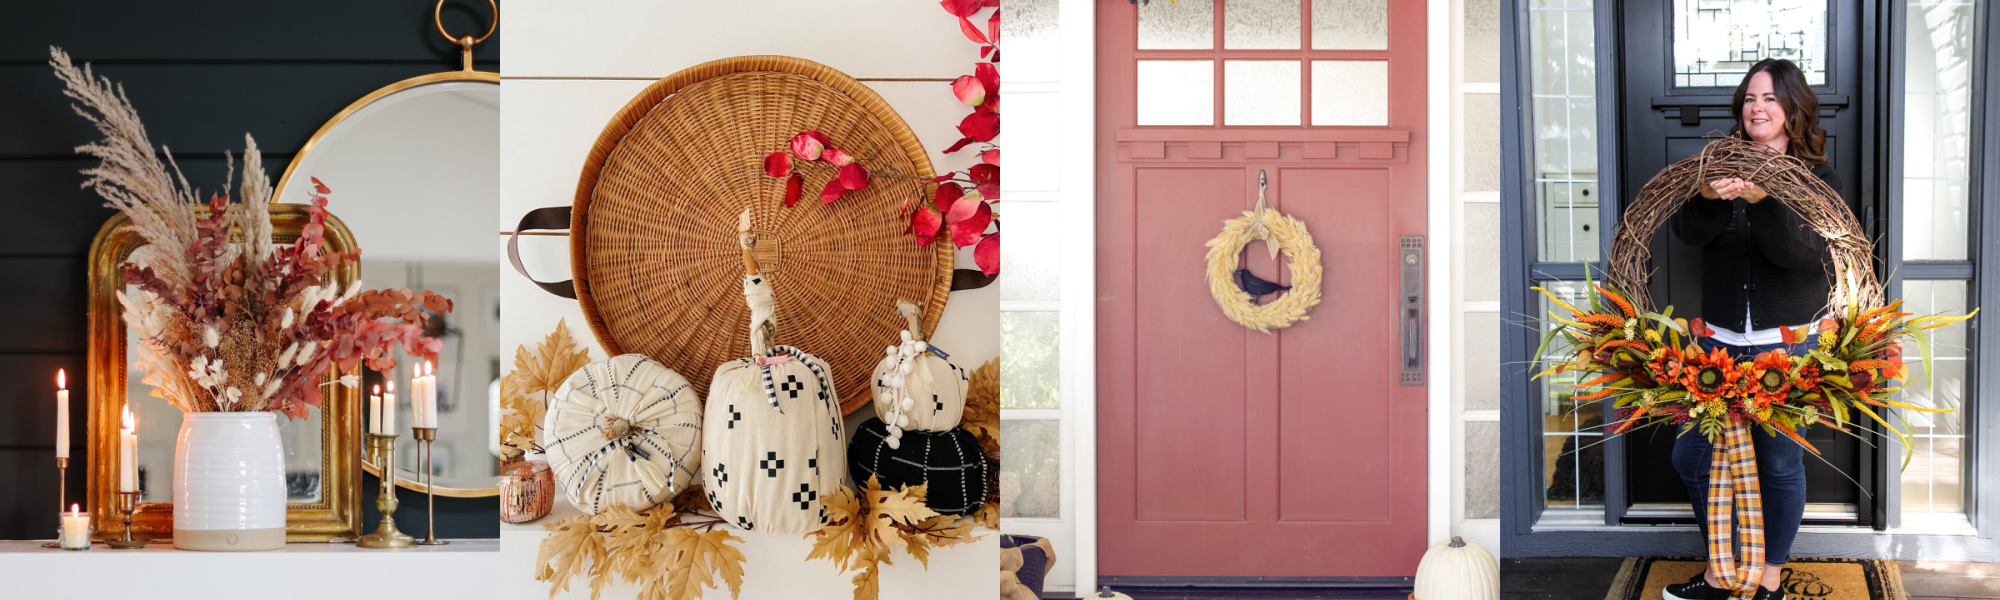
Fall Dried Flower Arrangement at Modern Glam
Elevated Toilet Paper Pumpkins Free Craft at Tatertots and Jello
DIY Inexpensive Fall Wreath at The Happy Happy Nester
How to Make a Fall Wreath at A Pretty Life
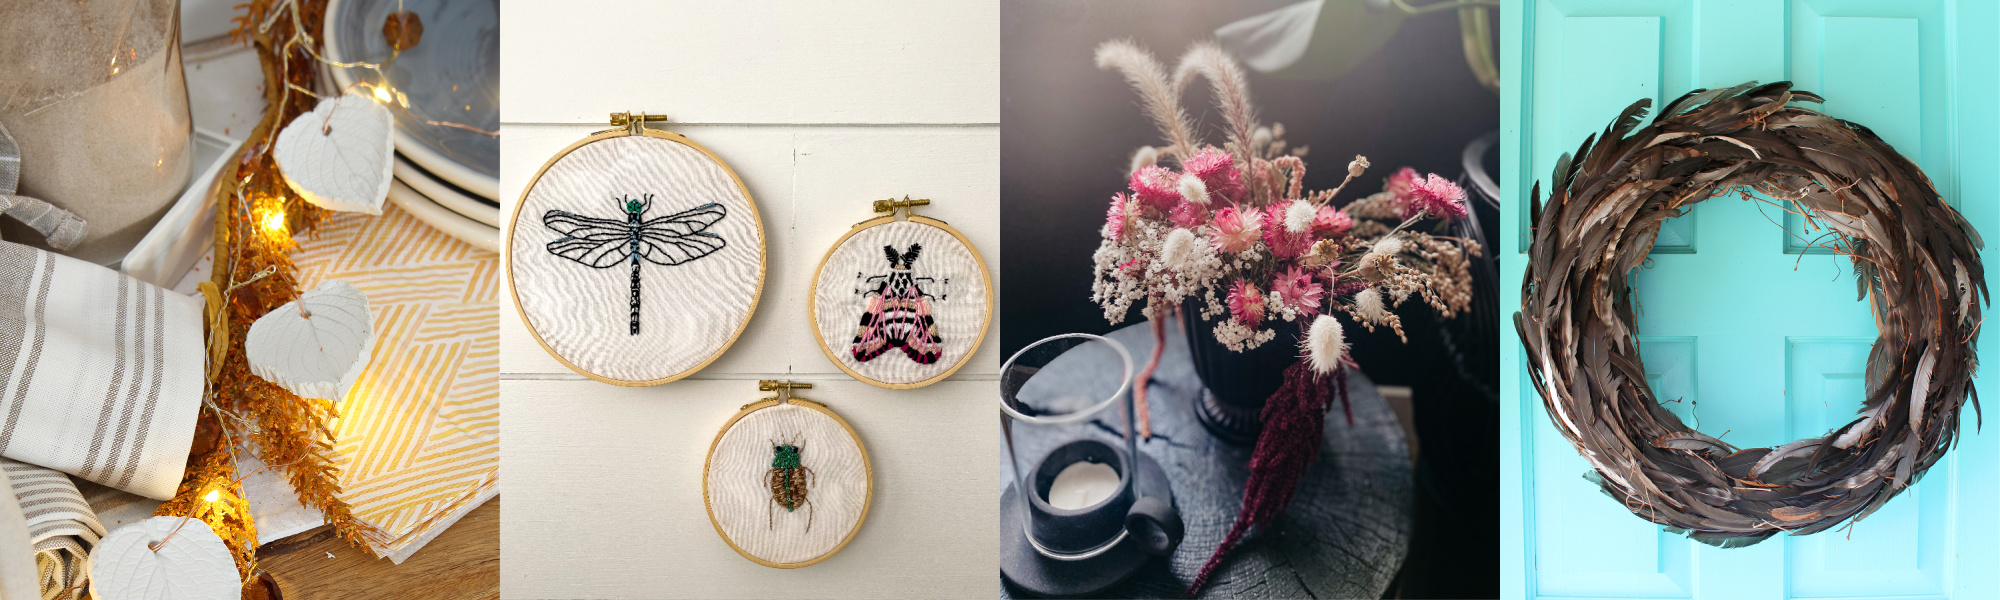
Air Dry Clay Leaf Twinkle Lights at Clean & Scentsible
Embroidery Insects at Life is a Party
Dried Florals for Fall at Lemon Thistle
DIY Feather Wreath at Dans le Lakehouse
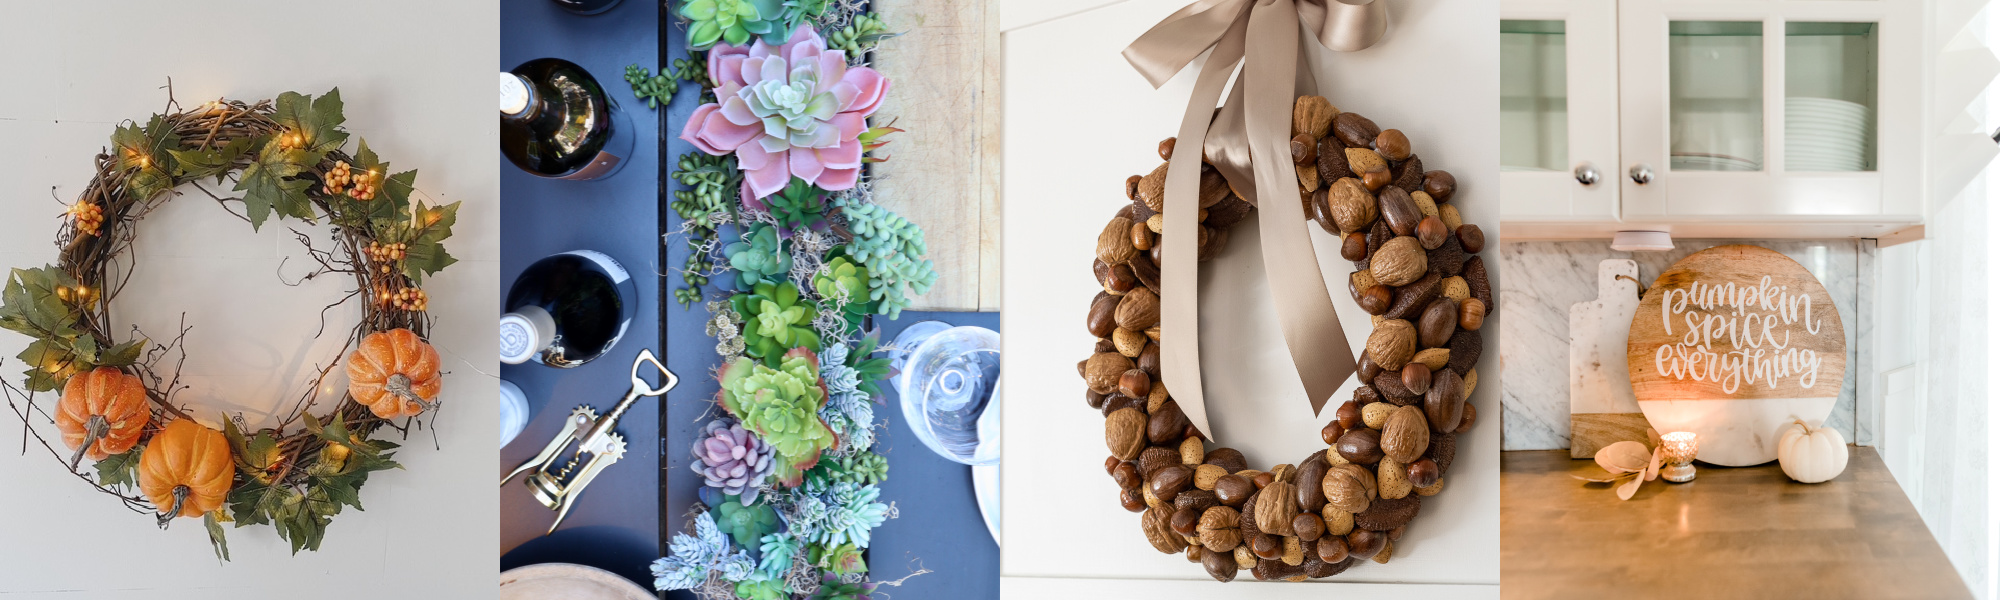
DIY Fall Wreath Tutorial at She Gave it a Go
How to Make a Succulent Table Runner at My Sweet Savannah
DIY Fall Harvest Nut Wreath at Sincerely, Marie Designs
DIY Fall Cutting Board with a Cricut at The DIY Mommy
Happy Fall!


I love your wreath. Great job!
Thank you so much Rebecca!
I love these colors and florals! Great DIY
Thank you Rhonda!
So amazing Jo-Anna! Love those fall colors!
Thank you Jenn!
This is absolutely stunning, Jo-Anna!! I bet it looks amazing from the street! XOXO
Thank you so much Christy!
Your wreath is amazing! Such beautiful colours and that ribbon is a great find.
This is such a beautiful wreath. I love how big it is and the colours are amazing!
Thank you Colleen!