
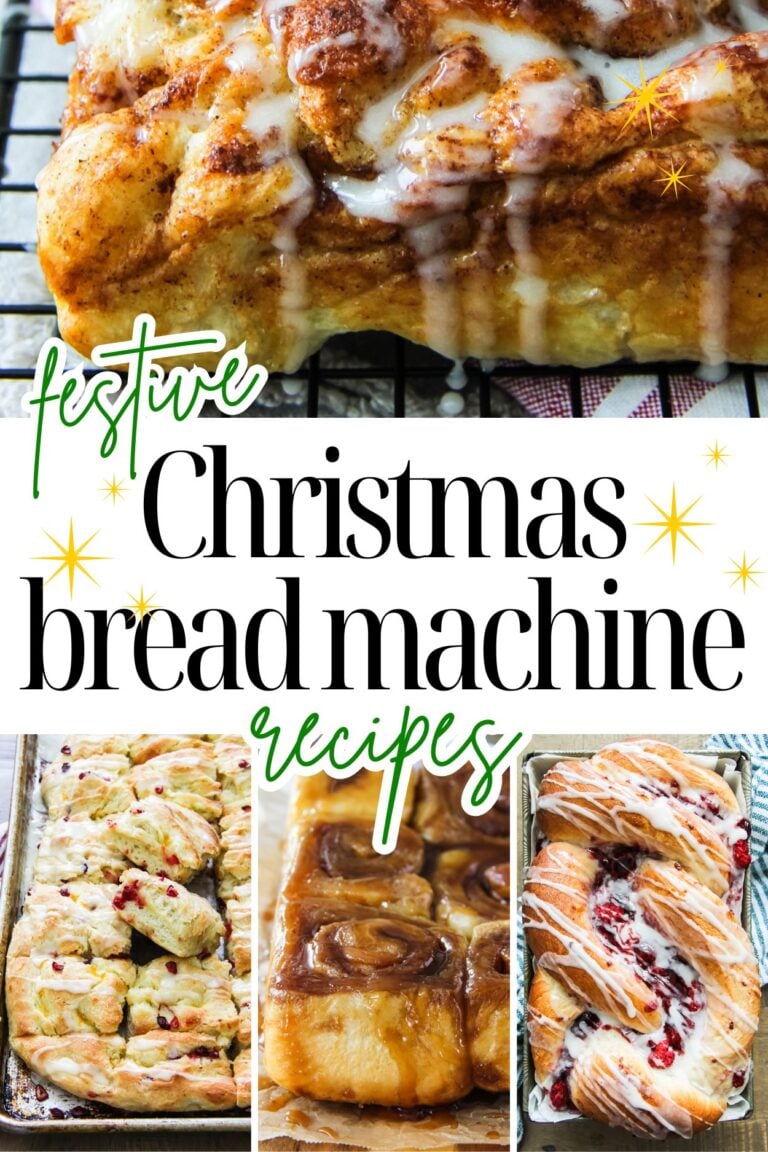
Gooey Bread Machine Cinnamon Buns

Gooey Bread Machine Cinnamon Buns
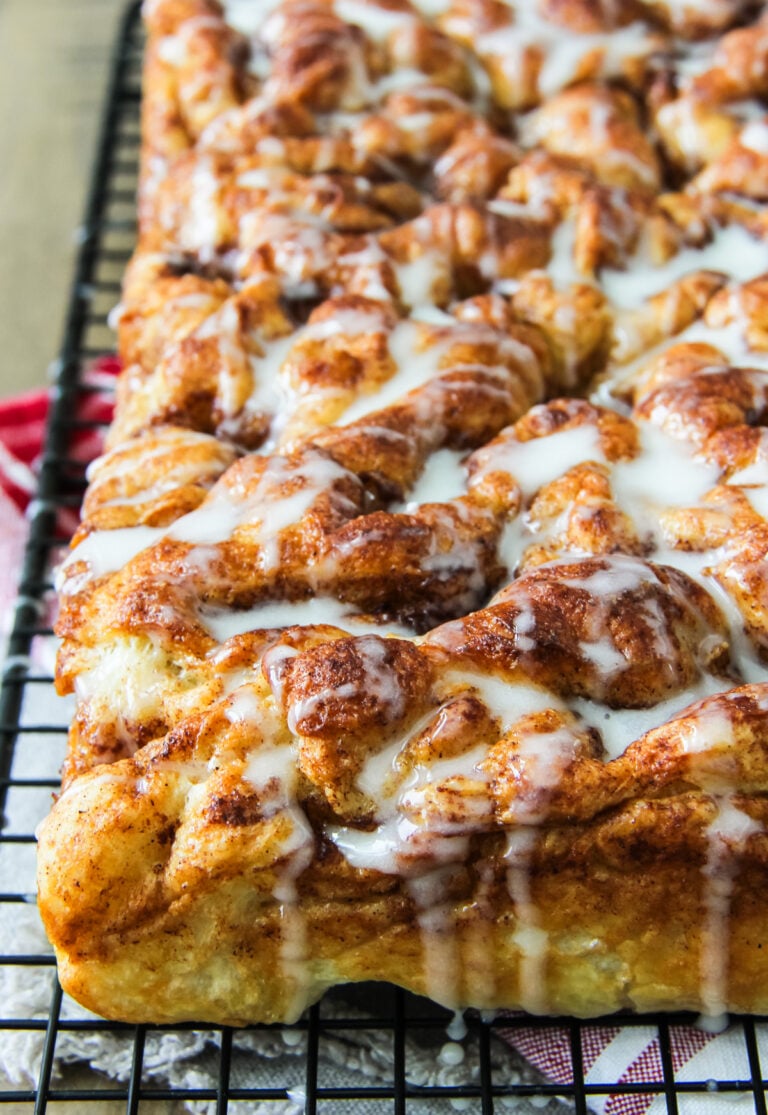
Make the dough for these Gooey Bread Machine Cinnamon Buns in your bread machine! Then roll and shape the dough into buns and bake in your oven. So good. Gooey, doughy and delicious.
These Gooey Cinnamon Buns are SO GOOD. Soft doughy buns filled with cinnamon and sugar, then topped with a delicious maple vanilla syrup. You have to make them.


Recipe Snapshot
EASE: Make the dough in your bread machine.
DELICIOUS!: Gooey, doughy and so good!
SIMPLE INGREDIENTS: Simple pantry ingredients.

Make the dough in the bread machine.
Why make the dough for these cinnamon buns in the bread machine? Because you can! And it’s SO easy. I love being able to add all of the bread dough ingredients to the machine and have it do the hard work of kneading for me. Then I shape the dough into rolls and bake it myself.

How to make Cinnamon Buns:
Here is a quick visual tutorial on how to make and shape the dough into cinnamon buns. Don’t worry, it’s very very easy.


Once the buns have risen and doubled in size, it’s time to bake them!

Bake for about 40 minutes, until the buns are golden brown. Let the buns sit in the pan for about 15 minutes.

Then turn the buns out onto a plate or platter, so the gooey side is now up. Add more syrup if needed.

Syrup Tip
Depending on what kind of mood my bread dough is in, sometimes there’s a lot of syrup on the buns after baking, and sometimes there isn’t. The goal is that you want a lot. If for some reason your dough is also moody it might suck up most of the syrup which is delicious…but if you want extra dripping syrup, you could quickly make up an extra batch of just the syrup, stirring it until the mixture becomes syrupy, let it sit for about 10 minutes, then drizzle the baked buns with it.


Cinnamon Bun Tips
- Milk and butter: Have the milk and butter at room temperature. Cold ingredients do not stimulate yeast growth, so the dough may not rise to its potential.
- Yeast: Make sure you are using fresh yeast or the dough will not rise properly.
- Flour: Use regular, all purpose white flour.
- Maple Syrup: Maple syrup tastes the best for the syrup portion of this recipe, but if you don’t have any, you can use honey or golden syrup instead.
- Not enough syrup? See my tip above…if your cinnamon buns soaked up the syrup during baking, and you’d like more for drizzling, you can make an extra batch quickly!
- What, no raisins?! Feel free to add raisins or nuts to these cinnamon buns. If I were to add them, I would stir them into the finished syrup before I poured it into the baking pan.
- Pan Size: To make these buns like tray buns, use an 8 x 8 baking pan.
- Make Ahead. These buns are best enjoyed the day they are made…they are most soft and fresh.
- Leftover buns: Store them in an airtight container for 1- 2 days. To freshen them up, heat them in the microwave for about 10-15 seconds.
Perfect for brunch!
These buns would be perfect for weekend brunches! Especially Christmas. Serve them alongside this delicious ham and cheese bake and a fruit salad.

Gooey Bread Machine Cinnamon Buns
Ingredients
The Dough:
- 1 cup milk at room temperature or lightly warmed
- 1 large egg
- 1/4 cup butter
- 1 tsp salt
- 3 1/4 cups all purpose flour
- 1/4 cup granulated sugar
- 2 tsp bread machine yeast
Syrupy Topping:
- 1/4 cup butter
- 1/4 cup maple syrup
- 1/2 cup packed brown sugar
- 1/2 tsp vanilla extract
Cinnamon Sugar Filling:
- 1 cup brown sugar
- 2 tsp cinnamon
- 1/4 cup butter melted
Instructions
The Dough:
- Add all of the bread ingredients to the bread machine in the order listed above.
- Set the bread machine to the dough cycle.
- When the cycle is finished, remove the dough from the machine and set it in a warm place, cover with a clean tea towel, and let rise for 1 hour.
Making the syrup:
- In a small saucepan over low/medium heat, combine the butter, syrup and brown sugar. Bring to a low simmer, stirring until the butter is melted and everything is smooth, this should take less than 5 minutes.
- Stir in the vanilla.
- Pour the syrup into an 8×8 baking dish. Set aside.
Cinnamon Sugar Mix:
- When the dough cycle is near complete you can mix the cinnamon sugar mix in one bowl, and melt the 1/4 cup of butter in another small bowl.
Putting the cinnamon buns together:
- After the dough has risen for the 1 hour, it’s time to roll it out. Lightly dust your countertop with flour. Roll out the dough to measure about 12 x 18 inches (a rectangle shape) and 1/4 inch thick.
- Slather it with the melted butter.
- Spread the cinnamon/sugar mix evenly over the dough.
- Starting on the longer side of the dough, roll it into a log.
- Then cut the log into 9 equal pieces. I do this by first cutting the dough into 3, then each section into 3.
- Lay each piece, swirl side up, into the baking dish (on top of the syrup), with three buns in three rows.
- Cover the baking pan with a clean tea towel, and let rise for 45 minutes more.
- Preheat your oven 350 degrees F.
- Bake for 40-45 minutes. Tip!Place a baking sheet under the baking pan because the sugar mix may bubble over.
- When baking is complete, take cinnamon buns out of the oven, and let rest in the pan for about 15 minutes.
- Turn the buns out onto a plate and enjoy!
PIN IT to make later!


Have a delicious day!


I made these cinnamon buns today. Here in Canada, it’s Shrove Tuesday, or “Fat Tuesday” where we traditionally have something sweet and yummy, since tomorrow starts our day of Lent. Anyway, I decided to make these today.
BEST CINNAMON BUNS EVER! Better than any we have ever tasted anywhere! Thank you for the recipe!
I feel that if I let my BM go the whole 1 1/2hr dough cycle, the dough is pretty hard to roll out. Should I take the dough out maybe after the first rise or so? Make it more pliable
I always do the full cycle and have never found the dough hard to roll out.
Can these be frozen? Maybe before baking?
I haven’t done this, but I’m sure you can freeze them before baking. I would assemble them in the pan, then freeze unbaked. Then for best results, thaw them in the fridge overnight, then let them rise at room temperature until doubled in size before baking.
Just want to make sure I’m understanding this correctly? My dough cycle includes an hour of proofing. So I still proof another hour after the cycle is done?
Hi Kay! Yes, my machine also has the 1 hour proofing, and the dough also then requires 1 more hour proofing time.