
Spooky Halloween Scream Raspberry Pie

Spooky Halloween Scream Raspberry Pie
This Halloween Scream Raspberry Pie is a perfect dessert for the spookiest night of all! So spooky, so delicious!
Hello! Today as part of the Seasonal Simplicity Blog Hop Series hosted by my friend Krista of Happy Housie, I’m sharing a spooky Halloween recipe! Make sure to check out more Halloween recipes from my blogger friends in the links at the bottom of this post! If you missed any of my previous posts as part of this fall series, make sure to check out my Pretty Fall Living Room Tour, my DIY Fall Flower Arrangement, my Pumpkin Sheet Pan Pancakes recipe, and my Cozy Fall Patio. xo
Make everyone scream with this Halloween pie!
I LOVE making fun pie crusts for the tops of my pies…it’s just a really simple way to dress up a pie and take it to the next level. It’s even more fun when you can make a holiday themed pie! A couple of years ago I made this Ghost Halloween Pumpkin Pie and it’s one of my favourites! This year I wanted to make another Halloween pie, so I decided to go a little more spooky and made this Scream Face Raspberry Halloween Pie.

Raspberry pie filling makes it extra spooky!
For this pie I decided to make a raspberry filling. There are 2 reasons for this: one, raspberry pie is DELICIOUS. And two, I thought the red colour of the raspberry filling would be perfectly spooky for Halloween. The red is such a great contrast to the ‘Scream’ face.

Use Pumpkin Carving Templates for your Pie Crust Top!
This ‘Scream’ face pie crust is very simple to make. I look at it almost like carving a pumpkin…if you can carve a pumpkin, you can absolutely make this crust. In fact, it’s MUCH easier. For this pie I searched for pumpkin carving ideas and came across a ‘Scream’ face template that I just knew would look amazing on a raspberry pie! Initially I made an apple pie which looked great too, but the raspberry is much much more spooky! On a side note, just think about all the pie crust possibilities out there!

I made this ‘Scream’ face pie a couple of times, once with apples and once with raspberries.
How to Make a ‘Scream’ Face Halloween Pie Crust:
- Download a template for your crust design. I used this ‘Scream’ face template that found here. Just make sure it will fit on the top of your pie.
- Roll your pie crust out onto a piece of parchment paper.
- Lay the template over your crust.
- With a sharp knife, cut out the template face into your pie crust.
- Remove the paper.
- Then remove the pie crust pieces in the eyes, nose and mouth.

Putting the crust on the top of the pie:
When you’re ready to place the top crust, use the parchment paper to flip it over onto the pie. Then gently peel the paper back. If you have any rough spots, just use a little water on your fingertips to ‘erase’ them. Press the pie crust edges together, then trim the crust, sprinkle on some cinnamon and sugar, and bake!

The pie before it goes into the oven
Isn’t this pie so great?! I LOVE LOVE LOVE it. So spooky and fun and gruesome all at the same time. The face, the red filling…so good.

Raspberry Pie Recipe Tips:
- You can make this pie with either fresh or frozen raspberries. If you are using frozen raspberries DO NOT let them thaw.
- The KEY to not having a runny raspberry pie is to make the filling right before you add it to the crust…DO NOT let it rest or the juices will start to come out and your pie will be runny.
- Let your pie rest for at least 3-5 hours after baking so the filling has time to set. If you try to eat it right away, it will be runny.
- There will be some leakage of filling onto the crust…it happens. Pies are almost never perfect…but they’re always delicious!

Spooky Halloween Scream Raspberry Pie
Ingredients
Pie Crust:
- 2 cups all purpose flour
- 1/2 tsp salt
- 2/3 cup shortening (lard)
- 1/4 cup water
Raspberry Pie Filling:
- 5 cups fresh or frozen raspberries do not thaw
- 2/3 cup granulated sugar
- 4 tbsp cornstarch or flour
Instructions
- Preheat your oven to 425 degrees F.
Make the Pie Crust first:
- Sift the flour and salt into a bowl.2 cups all purpose flour, 1/2 tsp salt
- With a pie cutter, cut in the shortening until the particles are like coarse oatmeal. 2/3 cup shortening
- Sprinkle in the water, 1 tsp or so at a time, mixing lightly with a fork.1/4 cup water
- Press the mixture into a ball.
- Separate the ball into 2 balls: one for the bottom crust and one for the top.
- Using a rolling pin, on a piece of parchment paper, roll out one ball of pie crust dough into a circle big enough to fit a 9 inch pie plate. Press this crust into your pie plate. Trim the edges with a knife.
Making the Decorative Top Pie Crust:
- Roll out the second ball of crust on to a piece of parchment paper.
- Using your template, cut out the 'Scream' face (see tips above).
- Set aside.
Now make the raspberry filling:
- If you are using frozen raspberries, do not let them thaw!
- In a bowl mix together the raspberries, sugar and cornstarch.5 cups fresh or frozen raspberries, 2/3 cup granulated sugar, 4 tbsp cornstarch or flour
Putting it all together:
- Add the raspberry filling to the pie.
- Using the parchment paper, flip the Scream face crust out over on to the top of the pie, making sure the face is in the centre (see above picture for reference).
- Gently peel back the parchment paper.
- Press the edges of the crust together.
- Generously sprinkle the crust with a cinnamon and sugar mix.
Baking your pie:
- In your preheated 425 degree F oven, bake your pie for 20 minutes (this will ensure that you don’t end up with a soggy bottom crust).
- After this time slip a cookie sheet onto the rack below your pie, and reduce the temperature to 350 degrees F. Bake for 25-30 minutes more. Bake until the crust is golden brown and your filling is bubbling in the vents.
- Let the pie rest for at least 3 - 5 hours so the filling has time to set.
- Serve with vanilla ice cream and enjoy!
More Halloween Recipes to Try!
Make sure to check out all the spooky and delicious recipes below…I hope you’ll be inspired to make something.
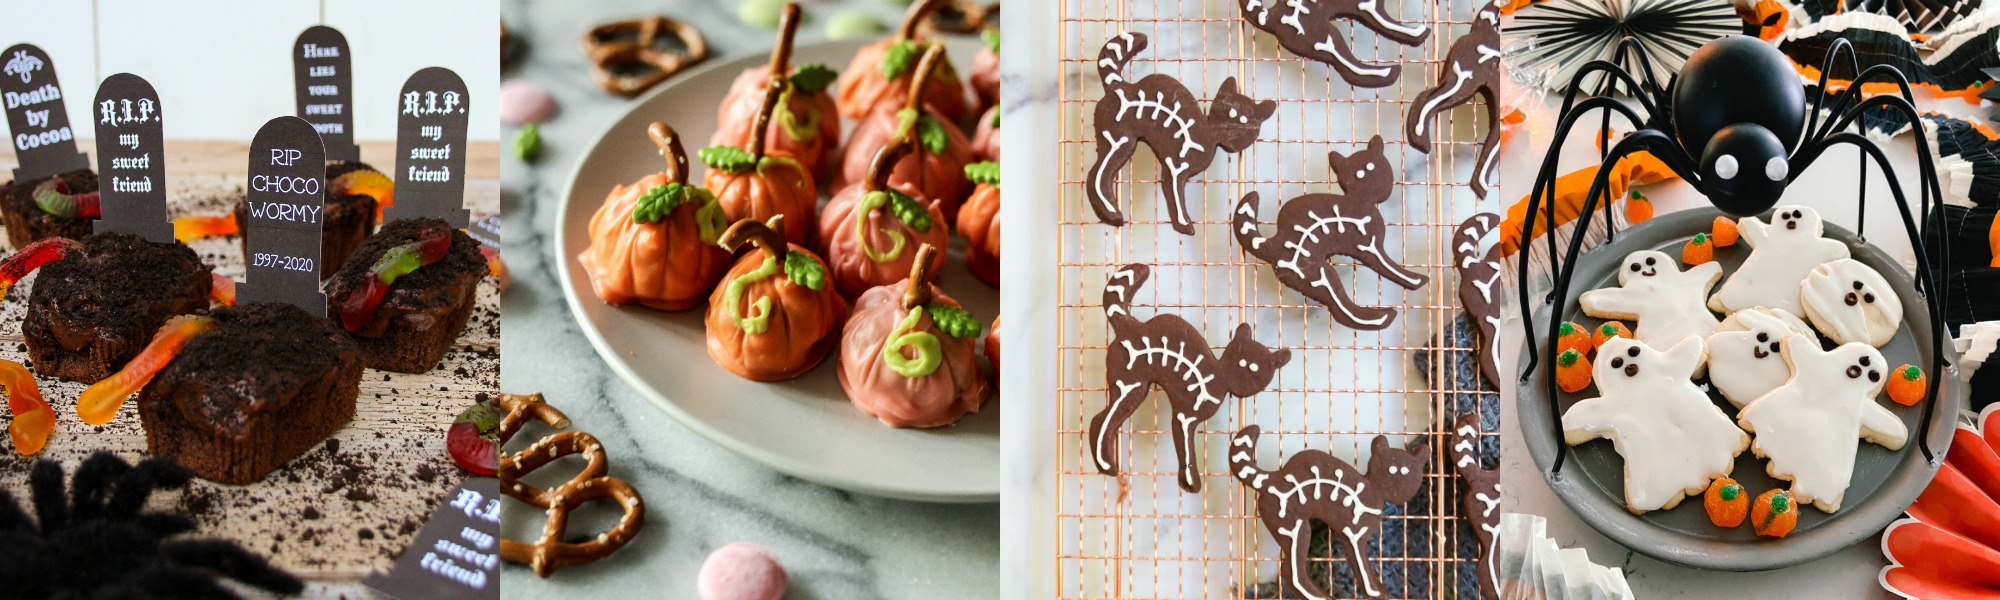
Worms & Dirt Halloween Cupcakes with Printable Gravestone Markers at The Happy Housie
Cinderella Pumpkin Peanut Butter Balls at Cassie Bustamante
Black Cat Skeleton Cookies at Modern Glam
Ghost Sugar Cookies with 3 Minute Icing at Tatertots and Jello
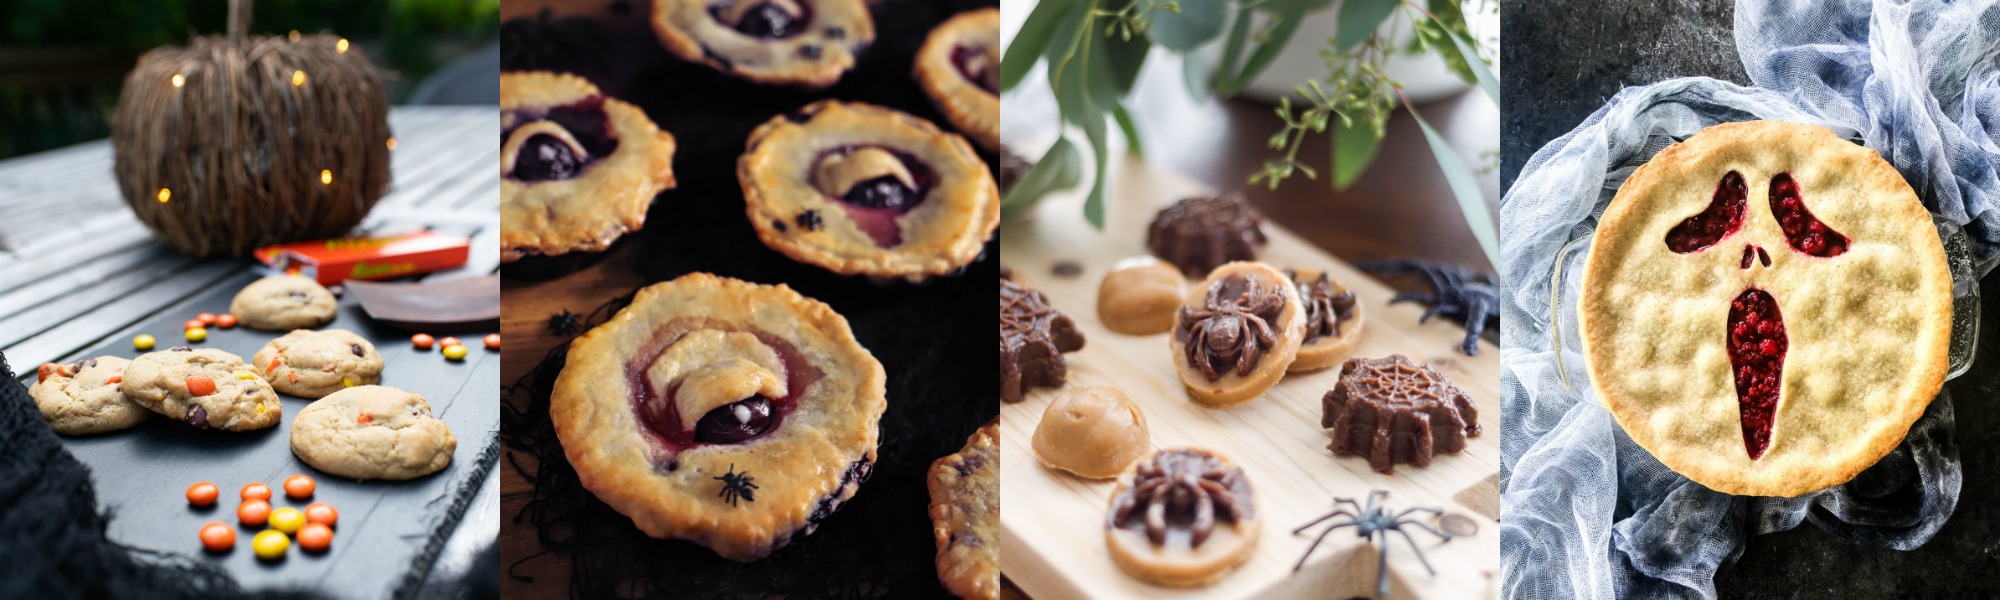
Reese’s Pieces Cookies at Finding Silver Pennies
Spooky Eye Pies at Paint Me Pink
Chocolate Fudge Halloween Spider and Pumpkin Treats at Zevy Joy
Spooky Halloween Scream Raspberry Pie at A Pretty Life
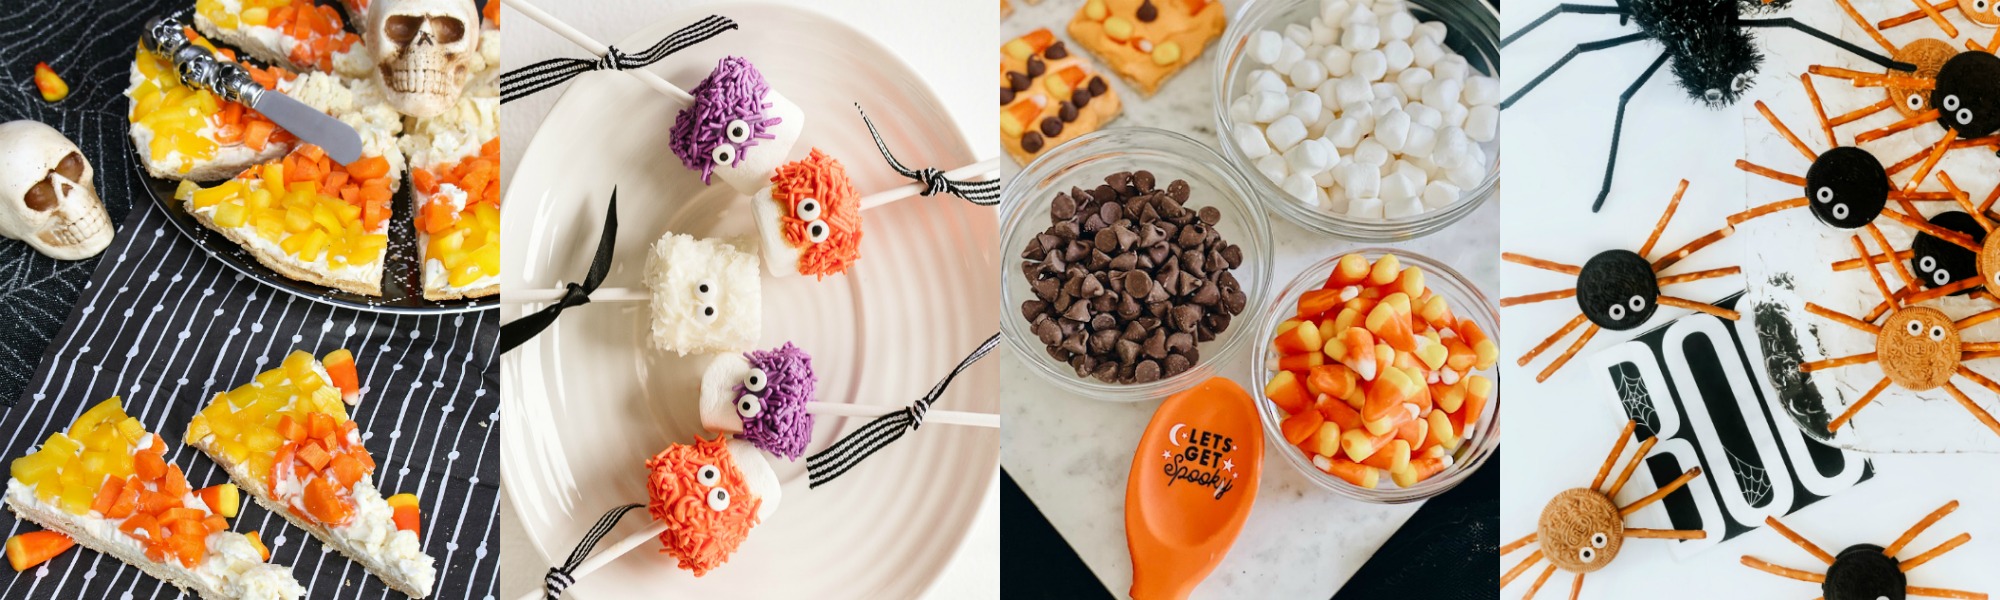
Candy Corn Veggie Pizza at Clean & Scentsible
Halloween Monster Marshmallow Pops at Nick + Alicia
Kid Friendly Halloween Cheesecake Treats at She Gave it a Go
Oreo Cookie Spiders at This is Our Bliss
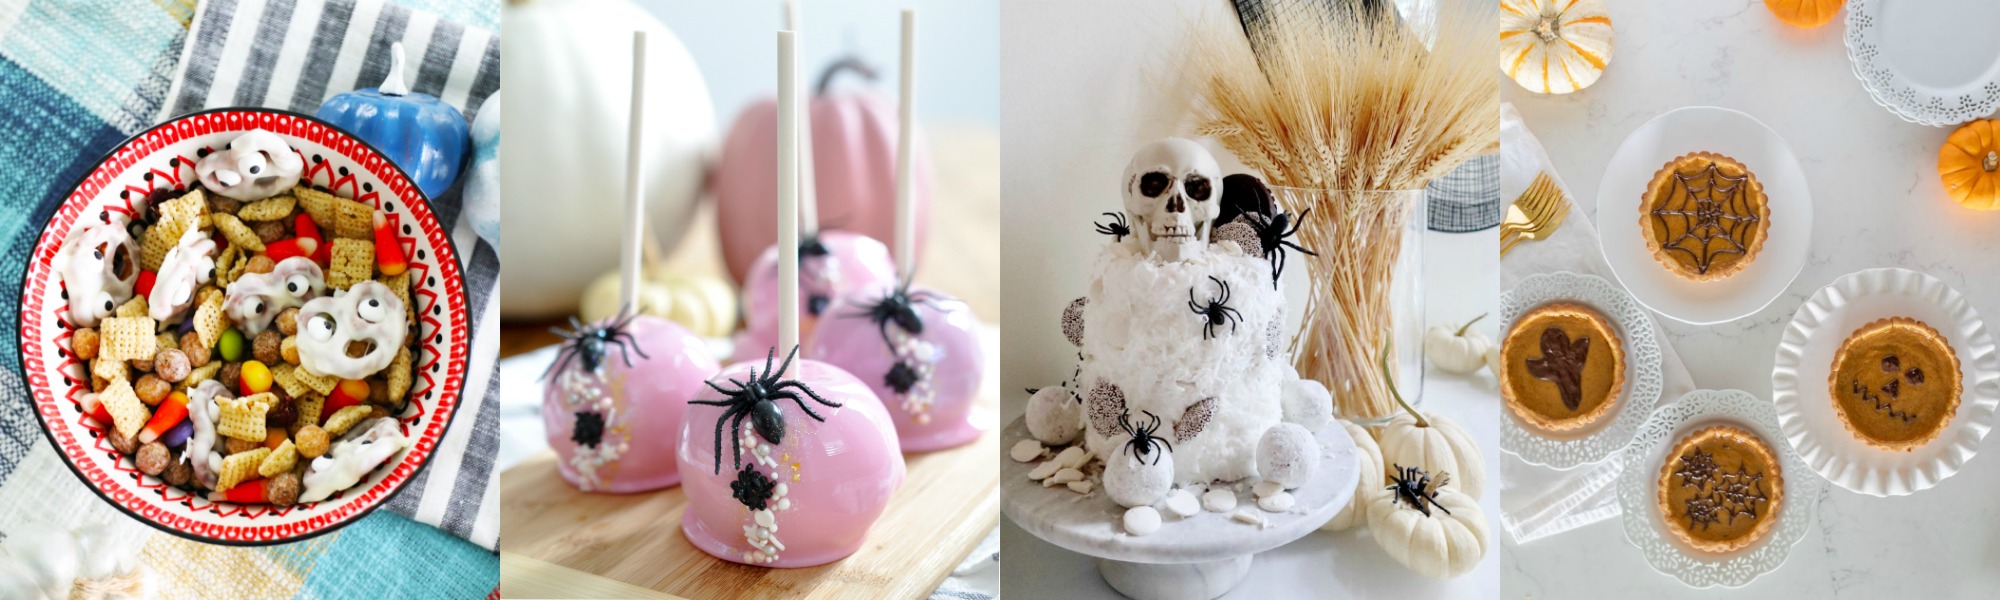
Spooky Halloween Snack Mix at The Handmade Home
Pink Candy Apples at Life is a Party
How to Decorate a Store Bought Cake for Halloween at My Sweet Savannah
Halloween Mini Pumpkin Tarts at Jennifer Maune
Have a spooky day!


your creativity always blows me away- this is AWESOME!
Thank you Cassie! xo
I LOVE this idea!! Such an easy change and looks amazing!!
Thank you Jenn! It’s so easy and perfectly spooky!
This is absolutely the cutest – and such a fun idea! I love it Jo-Anna!
It was really fun to create! Definitely spooky hahaha!
Jo-Anna, this is so creative and spooky!! It’s the perfect pie for Halloween!!
Thank you Norma!
This is so amazing! We can’t wait to make it!
Thank you Danielle!
Could this be replaced by blueberries? And can I use butter , instead of lard?
I have never made this particular pie crust recipe with butter but butter and lard are interchangeable for crusts.
And yes, absolutely you can make this with blueberries. I have a blueberry pie filling recipe on my site that I use, and I would use these ingredient ratios instead:
6 cups fresh blueberries
1/2 cup to 3/4 sugar
4 – 5 tbsp cornstarch
sprinkle of salt