
The Best Bread Machine White Bread Recipe

The Best Bread Machine White Bread Recipe
This really is The Best Bread Machine White Bread Recipe! Let your bread machine do all the mixing and kneading, then shape the dough into loaves and bake them in your oven. This basic white bread loaf recipe is perfect for sandwiches.
Bread machines are such a handy kitchen tool that do all the kneading and rising of bread making for you! I like to let my bread machine make the dough, then I shape and bake the dough myself. I absolutely love my bread maker and use it to make all of my own bread, including this go-to recipe for homemade white bread.

Two Delicious Loaves, One Great Recipe!
This is my go-to recipe for white bread. Made with simple ingredients, this easy recipe makes 2, 1-lb loaves of soft bread that are perfect as an everyday staple bread. And I love getting 2 loaves out of one recipe, so we can enjoy one right away, and I can freeze one for later.

Let your bread machine do the hard work!
What I love most about bread machines is they do all the hard work of bread making for you. Just add the ingredients, select the ‘Dough’ setting, press start, and 1 hour and 30 minutes later, you have a perfectly risen dough that is ready for shaping and baking. Homemade bread is the best.

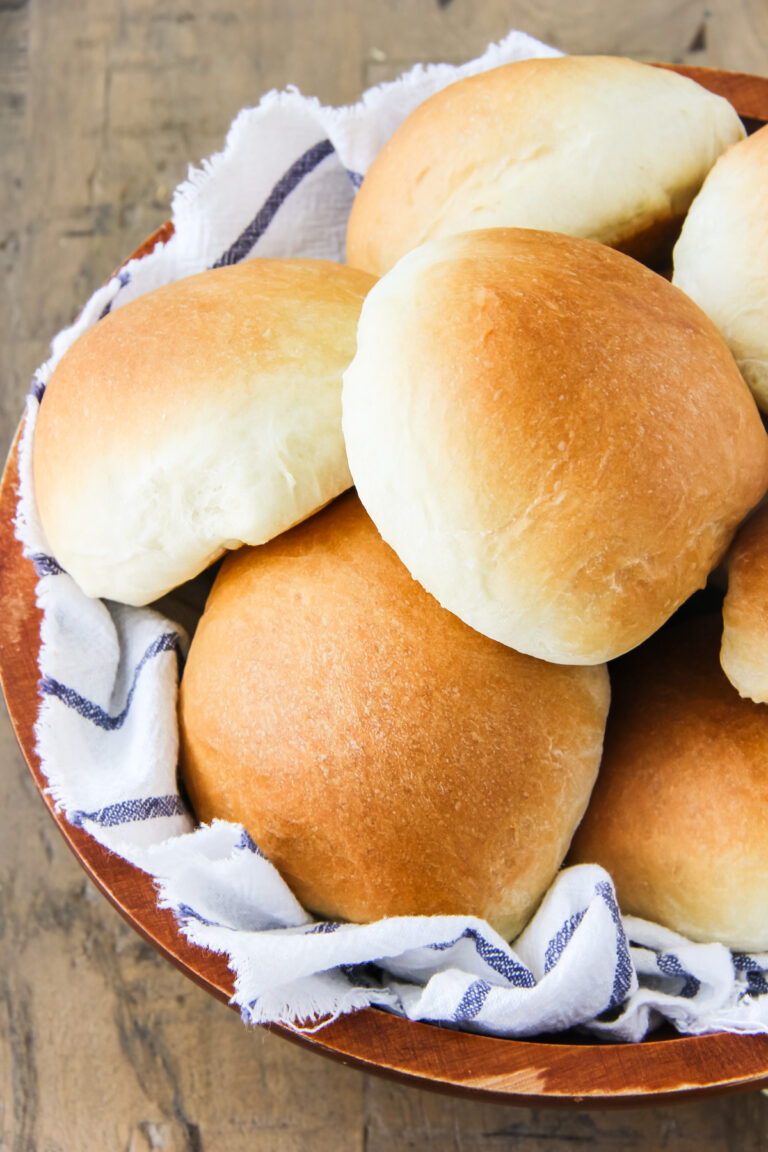
Not too big, not too small.
I think these loaves of bread are a perfect size. They’re not huge, but they’re not too small either. A perfect sandwich bread, the best for toast and great for snacking!

Shaping the dough into loaves.
Once the dough is done, I remove it from the bread machine, let it rise on the counter for 30 minutes, then I shape it into loaves. To do this, I split the dough in half, lightly knead each dough ball one more time to get rid of any air bubbles. Then I roll each ball into a rectangular tube shape that will fit into my baking pan. You want the tops of the loaves to be taut, so while keeping the dough in a tube shape, you need to tuck in the ends into the bottom of the loaf. Cover, and let rise for 30 more minutes. Then bake!

Soft, flavourful and so delicious!
This bread is absolutely delicious. Each fluffy loaf has a wonderful homemade flavour that you just don’t get with grocery store bread. It’s soft and flavourful. I hope you try this recipe and love it as much as we do!


Bread Machine Bread Recipe Tips
Here are some tips to help you make perfect bread with your bread machine:
- MILK AND BUTTER: Make sure the milk and butter are at room temperature (you can use warm milk, but not hot). Cold ingredients do not stimulate yeast growth, so the dough won’t rise properly. Use 2% or whole milk, and regular salted butter.
- FLOUR: You can use all purpose flour or bread flour.
- YEAST: Use fresh Instant Yeast: also called Bread Machine Yeast and Rapid Rise Yeast.
- PREPARE THE PANS: I line my pans with parchment paper, but you can also grease them with butter.
- LOAF PAN SIZE: I use a standard loaf/bread pan (1 lb. Pan: 8″ x 4 1/2″ x 2 3/4″ high). These loaf pans from Williams Sonoma are the ones I use (this is an affiliate link).
- TIMING: If you want fresh bread in time for dinner (say 5:30), start this process around 2:30 in the afternoon.
- WHEN IS THE BREAD DONE BAKING? The bread loaves will sound hollow when you tap the tops, and the tops will be golden brown.
- STORAGE: Once cooled, keep this bread in an airtight container or plastic bag.
- FREEZING: This bread freezes very well. Make sure to let the bread cool completely before freezing. I like to freeze my bread loaves in plastic bread bags.
- TIP! Don’t try to slice into your bread too soon after baking or you’ll squish it…ask me how I know! 😉


The Best Bread Machine White Bread Recipe
Ingredients
- 1 1/2 cups milk at room temperature
- 1 1/2 tsp salt
- 2 tbsp granulated sugar
- 2 tbsp butter
- 3 1/2 cups all purpose flour
- 1 1/2 tsp bread machine yeast instant yeast
Instructions
- Measure all of the above ingredients, in the order that they are listed, into your bread machine.
- Choose the ‘Dough Cycle’.
- Once the dough cycle is complete, remove the dough to a lightly floured surface and cover with a clean tea towel. Let the bread rise for 15 minutes.
- Prepare the baking pans: I line my pans with parchment paper, but you can also grease them with butter.
- Now it’s time to shape the dough into loaves. To do this, split the dough in half, lightly knead each dough ball one more time to get rid of any air bubbles. Then roll each ball into a rectangular tube shape that will fit into the baking pan. You want the tops of the loaves to be taut, so while keeping the dough in a tube shape, you need to tuck in the ends into the bottom of the loaf.
- Add the dough to the prepared loaf pans, cover with the tea towel, and let rise for 30 more minutes.
- Preheat your oven to 350 degrees F.
- When the loaves are done rising, bake for 35 minutes. When the bread is done baking, it will sound hollow when you tap the top, and the tops will be golden brown.
- Let the loaves rest in the pan for about 15 minutes, then remove to a wire cooling rack.
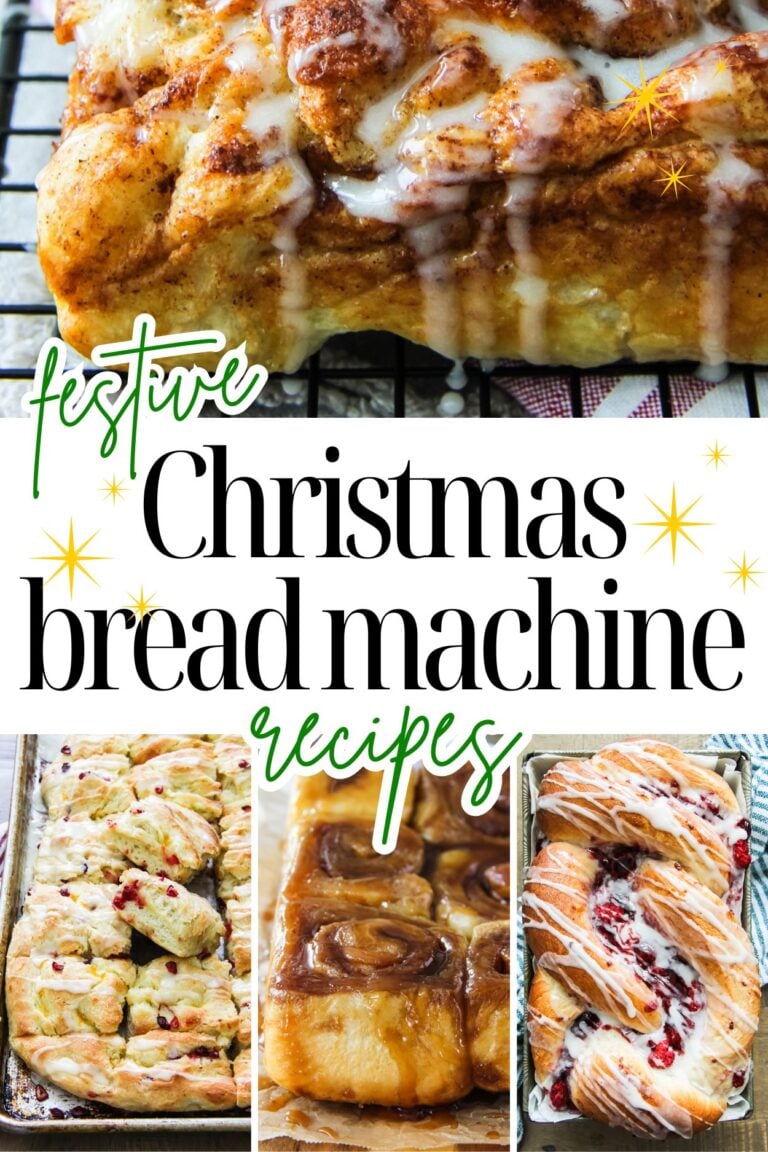
More Bread Machine Recipes
Simple bread machine recipes for loaves, buns, dinner rolls, pizza dough, bread sticks and more!


I hope you enjoy this easy bread machine recipe! Have a delicious day!


This bread is, without a doubt, the softest and tastiest bread I have ever made. I did add a bit of honey in place of one tblspoon of sugar. I like that basically the bread machine does most of the work. They fit nicely into a plastic storage bag. My husband loves this bread as much as I do. This will be my go to recipe.
Hi there! What if I wanted to cook this bread in my bread machine all the way thru? Since this recipe is for 2 loafs do I need to split it in half?
Hi! You can bake this recipe as is in your bread machine, no need to split it in half. Enjoy!
Is this recipe for a 2lb loaf? I would like to use the bread machine for the entire process.
Yes it is.
This bread is so delicious and so extremely easy to make. I usually make sourdough, this was a really nice change. Your instructions are very accurate, followed to a tee and my loaves look just like the picture. Thanks for sharing – I will be making again!
I love love love this bread. My kids and partner devour it. When I don’t make it, and just buy store bought? No one touches it haha
I wanted to see about experimenting a bit. If I used whole wheat flour instead, would anything change? I’m new to breadmaking.
I haven’t tried this particular recipe with whole wheat flour, but typically in bread recipes whole wheat and regular flour can’t be interchanged. I do have a recipe for whole wheat buns you could try though? https://aprettylifeinthesuburbs.com/homemade-whole-wheat-buns/
Hi, if I wanted to use active dry yeast could I put it in the milk first? New to baking! Thanks 🙂
Hi Jennifer! It’s best to leave yeast dry, so I usually place it in the flour.
Have tried this recipe a few times now and always delicious! Just wondering how you are going about measuring your flour? I know in other places it’s recommended to fluff/weigh your flour in grams rather than pack the cup, but I also find with some recipes, if I don’t pack the cup with flour, the dough is too sticky or doesn’t form at all! Never had any problems with this recipe though, just curious! Thank you! 🙂
Hi Rose! I usually just scoop with the measuring cup and level the flour, definitely don’t pack it.
I made this recipe to trade in barter for hair services. It was so incredibly easy. I think I’ll make more to freeze. It’s foolproof. And smells divine. I Can’t wait for review from my hairstylist!
I’ve made this recipe 2 times in 2 days!! It is just the best bread and so easy. Thanks for sharing with us!
This bread is so good! So soft and yummy. I’ve been looking for THE recipe for the longest time…this is it!
What size loaf pans are you using??
Hi Donna! You can find this and more tips if needed in my ‘Recipe Tips’ section above the recipe card.
For quick reference here is info you asked about:
LOAF PAN SIZE: I use a standard loaf/bread pan (1 lb. Pan: 8″ x 4 1/2″ x 2 3/4″ high).
Happy Baking!
Jo-Anna