
DIY Hanging Garden Trellis
Make this DIY Hanging Garden Trellis for your climbing vines! This simple and rustic trellis can be made with twigs from your yard, and some garden twine. Makes a pretty addition to your garden!
I’ve joined a group of blogger friends, and we are sharing some great summer DIY projects with you! Thank you to Krista of Happy Housie for organizing this Season Simplicity Summer Series. In case you missed my first post, you can see my Summer Wildflower Wreath here! And make sure to check out all the tutorials in the links at the bottom of this post! xo
Today I’m sharing a simple tutorial for a Hanging Garden Trellis that I made for my garden. The inspiration for this project is a clematis plant that I added to my yard this year. I wanted to give it something to climb on that also looks pretty in my yard, so I decided to get my DIY on, and made a rustic trellis. I love projects like this. Simple in every way.

Rustic and Natural!
My garden is very eclectic and definitely has a rustic feel to it. There are no manicured pots and flower beds in my yard and that’s just the way I like it. I love that when I’m out in my garden it feels natural with a little bit of whimsy…and maybe a few more weeds than I’d like 😉

Made with natural materials.
When I made this trellis I knew exactly the feel I wanted it to have, and that was that I wanted it to look rustic and blend in with my garden. I love using natural elements in my yard, and this trellis fits right in. Another goal of mine was to be able to make it for free with supplies I already had…I *may* have scavenged my neighbours yard for twigs they had cut off their cherry trees hahaha! If you have some twigs and garden twine, you can make this no time!

Supplies for your DIY Hanging Garden Trellis:
This trellis is really simple to make, and the supplies, the easiest. Here’s what you need to make your trellis:
- 2 feet long twigs, mine are about 3/4 inch wide (green twigs are best…dried ones will splinter when you drill them)
- garden twine, 2 pieces about 10 feet long
- drill with a wood bit

How to Make a DIY Hanging Garden Trellis:
Don’t be intimidated by the instructions, they’re easy. And just message me if you have any questions.
- Cut your twigs into ~2 feet long pieces. I used 10 pieces and spaced them about 5 inches apart so that I could easily hang the trellis in on my fence. So make sure to measure the space you want to hang your trellis and adjust accordingly.
- Lay out all of your twigs the way you want them to appear in your trellis. I spaced mine about 5 inches apart.
- Using a drill, drill 2 holes in each twig, with a hole in each end of the twig, about 1 1/2 to 2 inches from the edge, with each hole facing the same direction. Make sure the hole is cleared out well so you can string the twine through it.

My son drilling the holes about 1 1/2 inches from the edge of the twig.
- Start threading the trellis at the bottom. This is so the twigs can rest on the knots you will make.
- Starting on the left side of your trellis, use 1 length of twine and thread it through the hole of your first twig. Wrap the twine about 5 times around the first twig, then make a large double knot. Make another double knot to secure it.
- Then about 5 inches up the twine, make another large double knot. See the picture below.
- Thread on the next twig.

Knotting the twine about 5 inches along the twine to hold the next twig.
- Repeat the knotting and threading until all the twigs are added.
- Make a large double knot on the top of the last twig. Wrap the twine around about 5 times, then knot it again a few times to secure it.
- Then continue the instructions for the right side of the trellis.

Perfect for climbing vines!
I think it’s important to mention that this trellis isn’t made to hold anything heavy. It’s simply designed to guide a climbing vine. Having said that, garden twine is quite strong and will have no problem holding a clematis or even sweet pea vines.

So simple and pretty!
As my clematis grows, I will guide it through the trellis until it has a path it can continue to grow up on. I really love how this came together. It’s the perfect rustic addition to my garden, and I can’t wait to see it full of clematis flowers! I’ll update you later with how it looks. And let me know if you make one too!

Thank you for PINNING!

More Summer DIYs to Make:
It’s time to take a tour of all the great summer projects from my blogger friends! I hope you’ll leave inspired to make something, there are some really fun ideas.

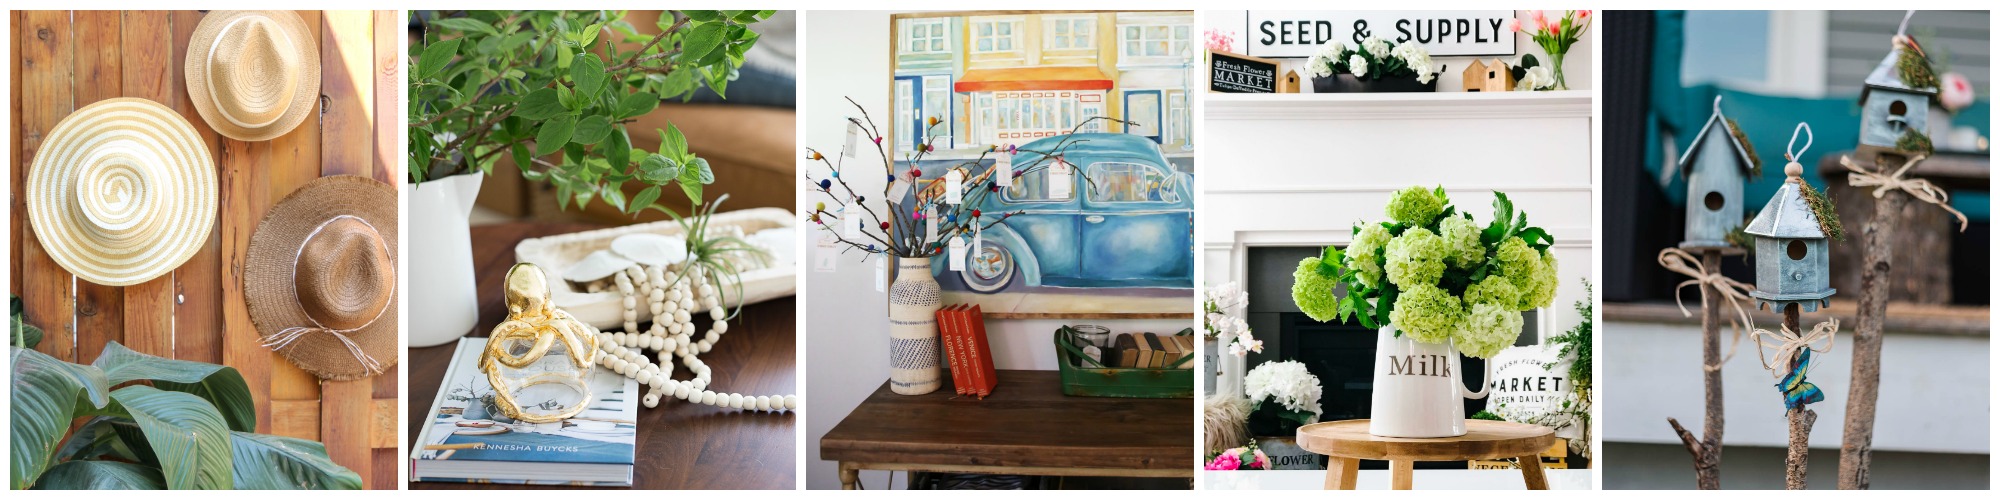
5 Minute Dollar Store DIY Hit Wall at The Happy Housie
Anthro Octopus Knockoff at Craftberry Bush
Summer Activities Tree at The Handmade Home
Easy Ways to Bring Colour Into Your Home for Summer at Tatertots and Jello
Rustic Birdhouse Garden DIY Decor from the Dollar Store at The DIY Mommy
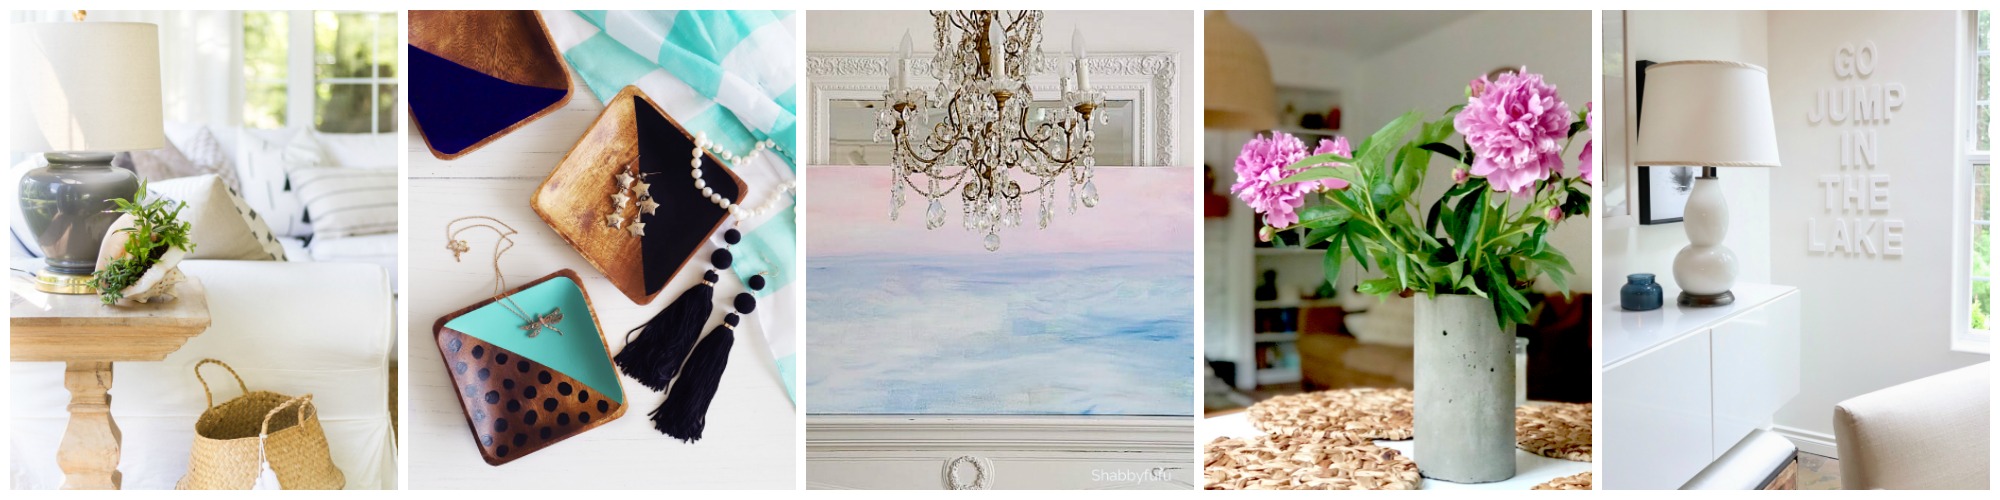
DIY Shell Planter Tutorial at Zevy Joy
Painted Wood Jewelry Dish at Paint Me Pink
DIY Beach Art on a Canvas at Shabbyfufu
DIY Concrete Vase at Place of My Taste
How to Dress Up Your Walls For Summer at My Sweet Savannah
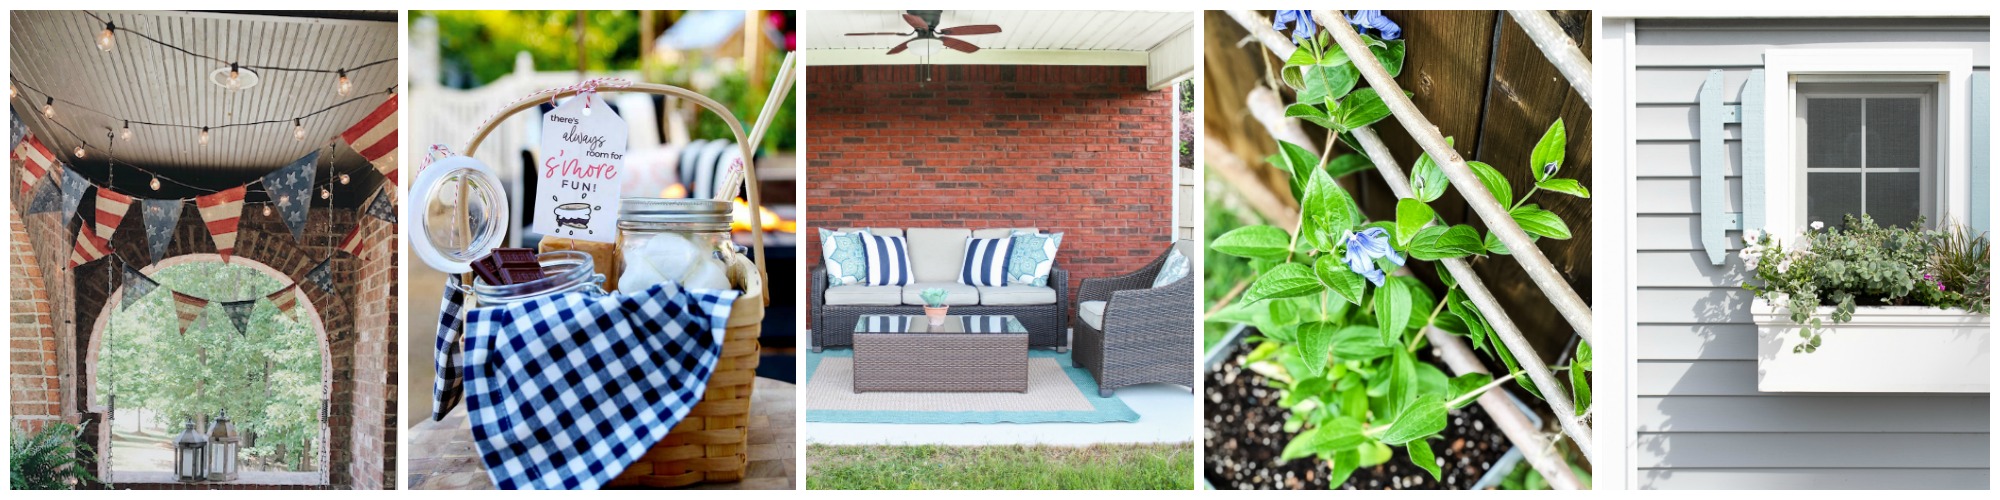
DIY Pottery Barn Inspired Liberty Burlap Party Banner at She Gave it A Go
Campfire S’Mores Gift Basket Idea at Modern Glam
How to Paint a Concrete Patio at The Turquoise Home
DIY Hanging Garden Trellis at A Pretty Life
Coastal Window Box at Finding Silver Pennies
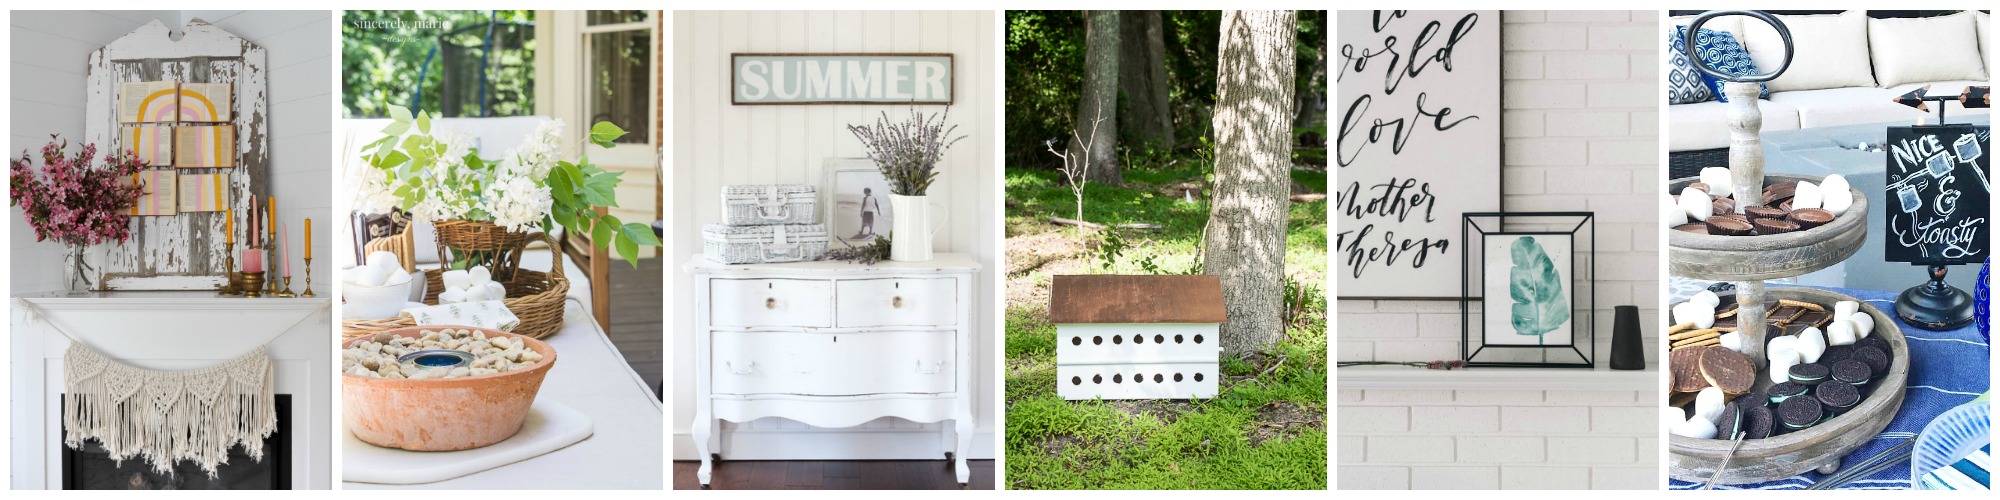
DIY Rainbow Book Art at Life is a Party
Tabletop Marshmallow Roaster at Sincerely, Marie Designs
How to Make a Sign the Easy Way at Confessions of a Serial DIYer
DIY Bird House at Seeking Lavender Lane
Simple Botanical Watercolour at Lemon Thistle
DIY S’mores Bar at Clean & Scentsible
Have an inspired day!


I am sure it will be even more beautiful once the flowers fill in!
Such a pretty project! I love how you used the sticks – makes it much more interesting!
Thank you Ashley! It’s a lovely addition to my rustic garden