
Recycled Sweater Stockings! A Tutorial
Make a set of Christmas stockings out of old sweaters! A fun and pretty upcycling project!

Hi peeps! I took a little hiatus this weekend – Friday night kicked me in the pants, as we had a house full of 6 and 7 year old boys for my son’s birthday. For 2 1/2 hours, they were literally bouncing off the walls. I took Saturday to recover. Next year, we are hosting parties for the kids somewhere else other than my home. Too, too, too crazy! But I’m back and ready to blog again! This time I’m tackling a Christmas craft: Recycled Sweater Stockings!
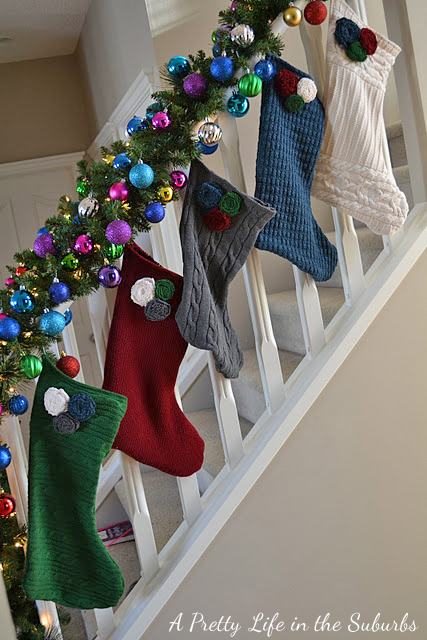
One of the best things about Christmas is opening our stockings on Christmas morning. They are always full of fun little things. But the stockings we had been using just weren’t cutting it, so I decided that this was the year for new stockings for my family. Especially now that we are a completed family of 5, I wanted stockings that matched.
But what kind? Well, I love sweaters, and I have seen them used to cover pillows, and I even used one to cover an old stool. So I thought, why not make stockings out of them? I scoured our closets here and didn’t find anything, so Sunday morning we packed up the kids, went out for breakfast, and made a pit stop at the local second hand shop. My two oldest and I found 5 great sweaters that don’t match, but match somehow. And I would make them match even more with rosettes!
I have developed quite a fondness for rosettes. I noticed that I have them on a few sweaters, ponytail holders, cardigans, t-shirts… okay, maybe more than a few things. They are just so pretty, and so I thought they would also look great on stockings. And it would also be a great way to tie all the stockings together. So I just jumped into it and got to work! So here goes, my first every tutorial in pictures!
Making Recycled Sweater Stockings
 |
| – – – –
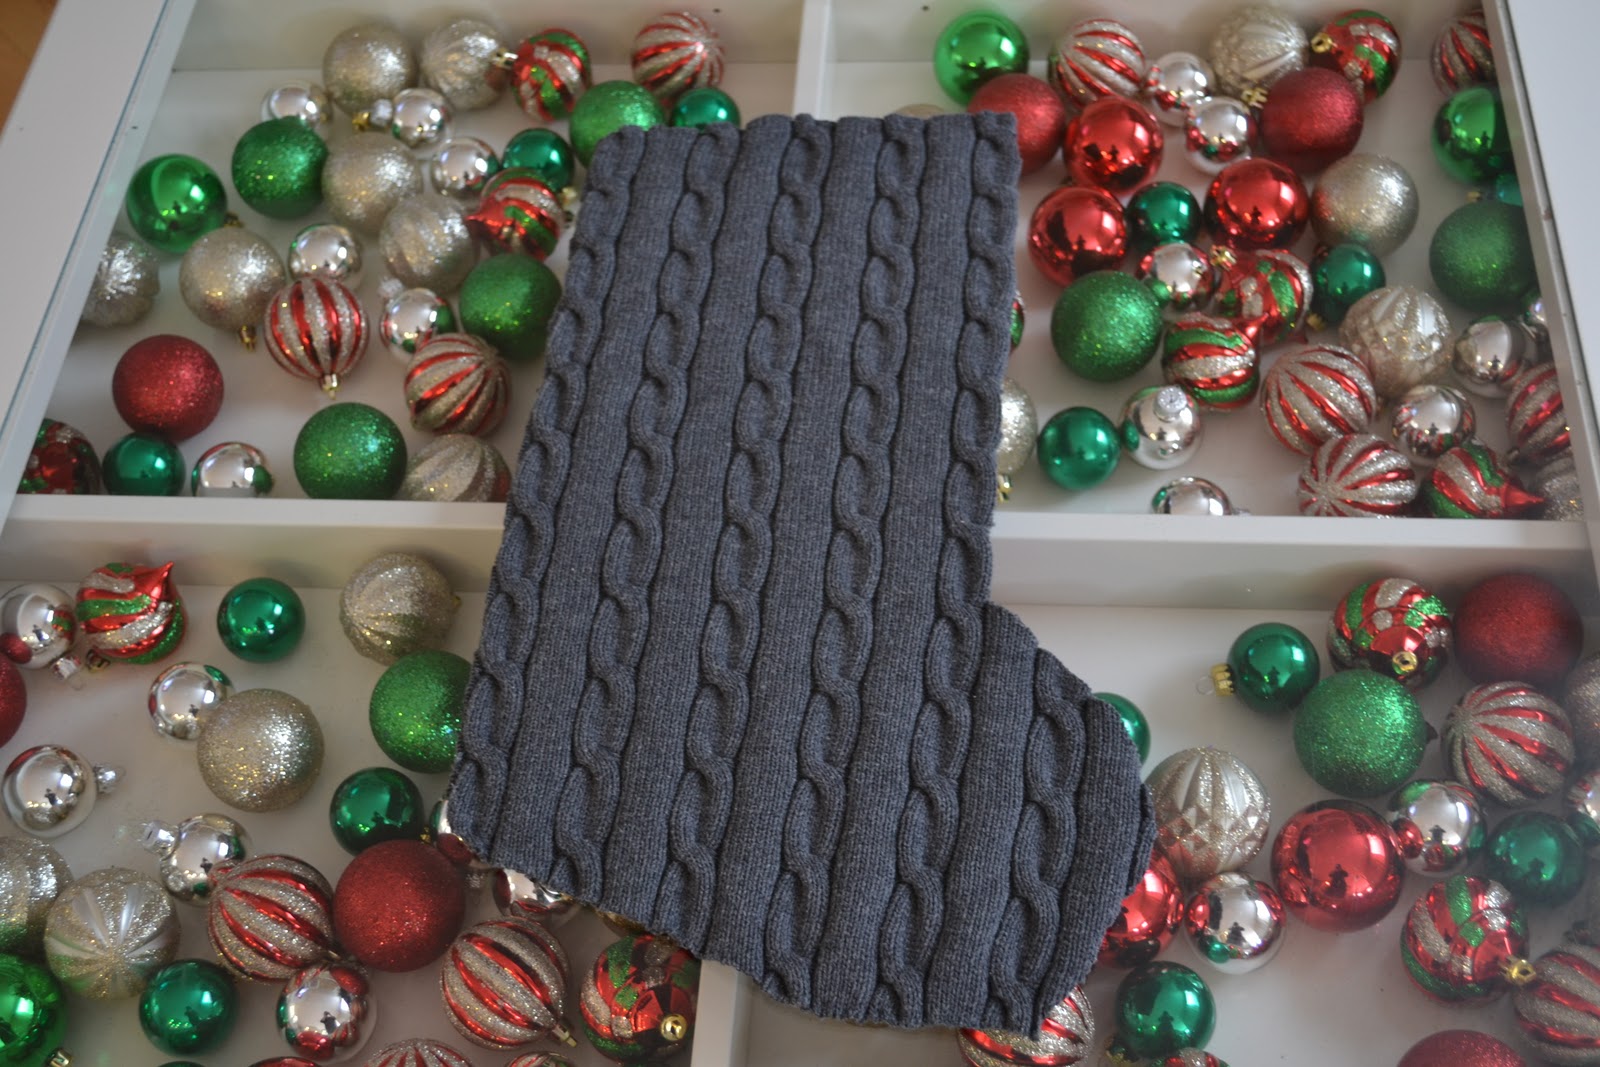
I just used an old stocking to cut out the shape I wanted. – – – – |
 |
| – – – –
You can cut right through the front and back of the sweater, to give you the 2 panels of the stocking. – – – – |
 |
| – – – –
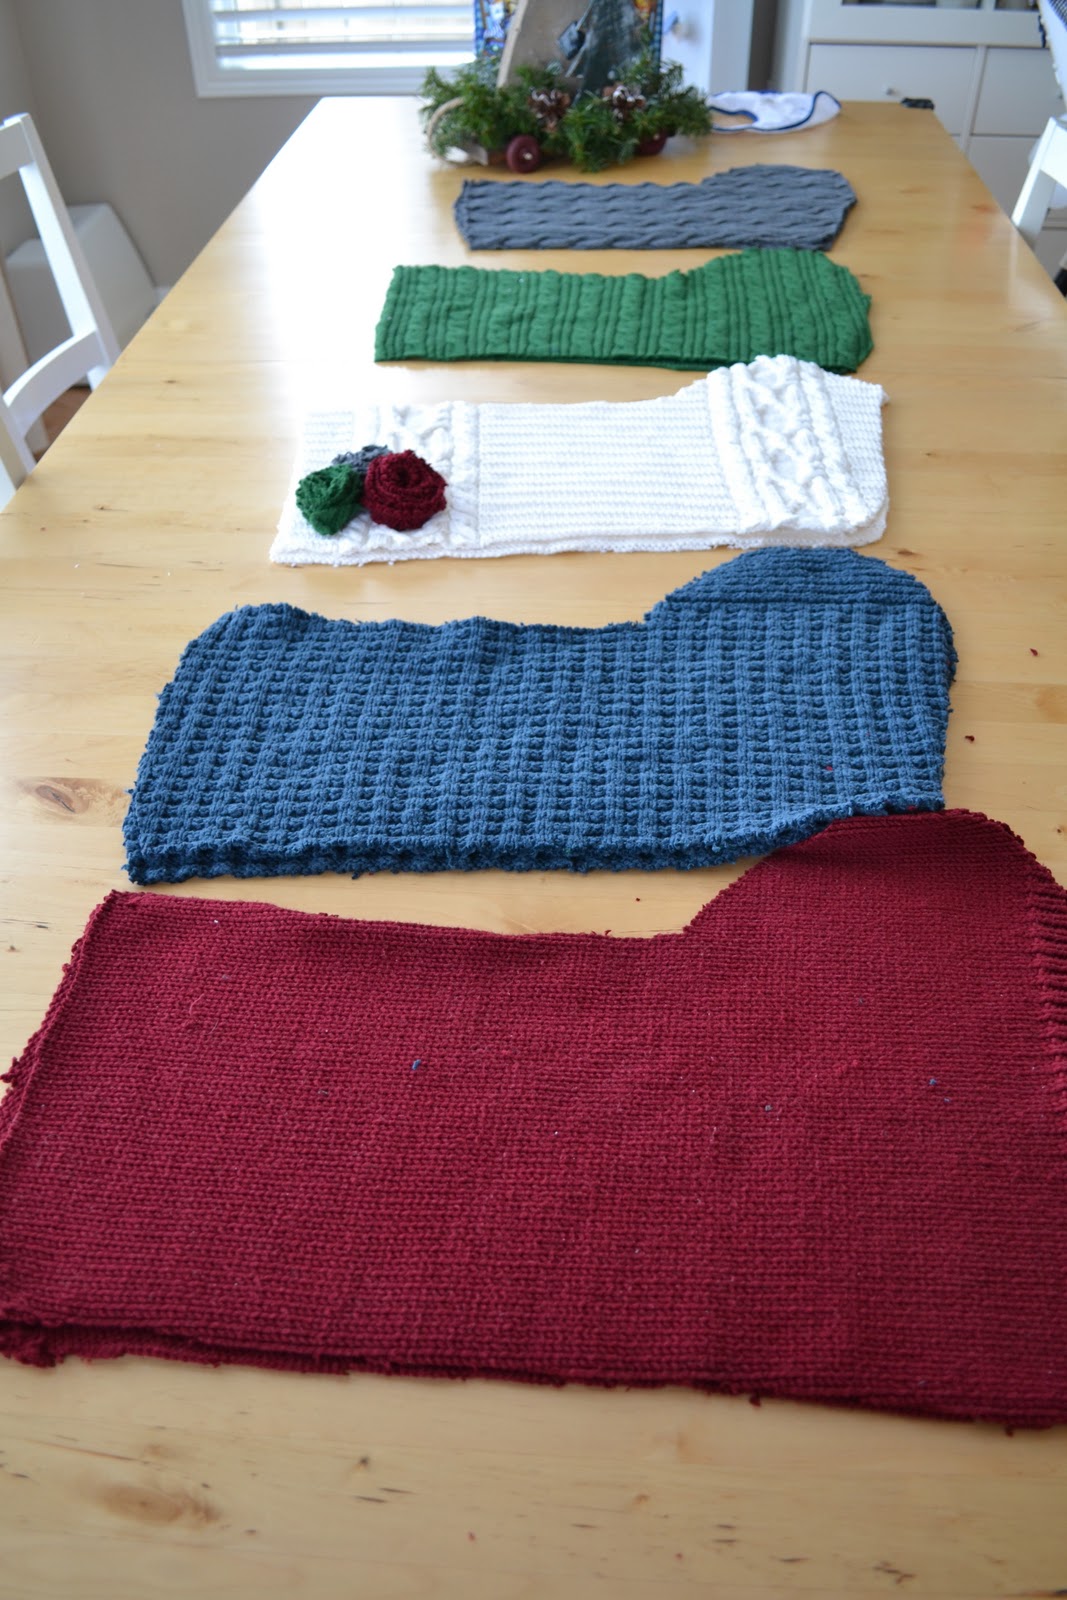
Here are all the colours I used. – – – – |
 |
| – – – –
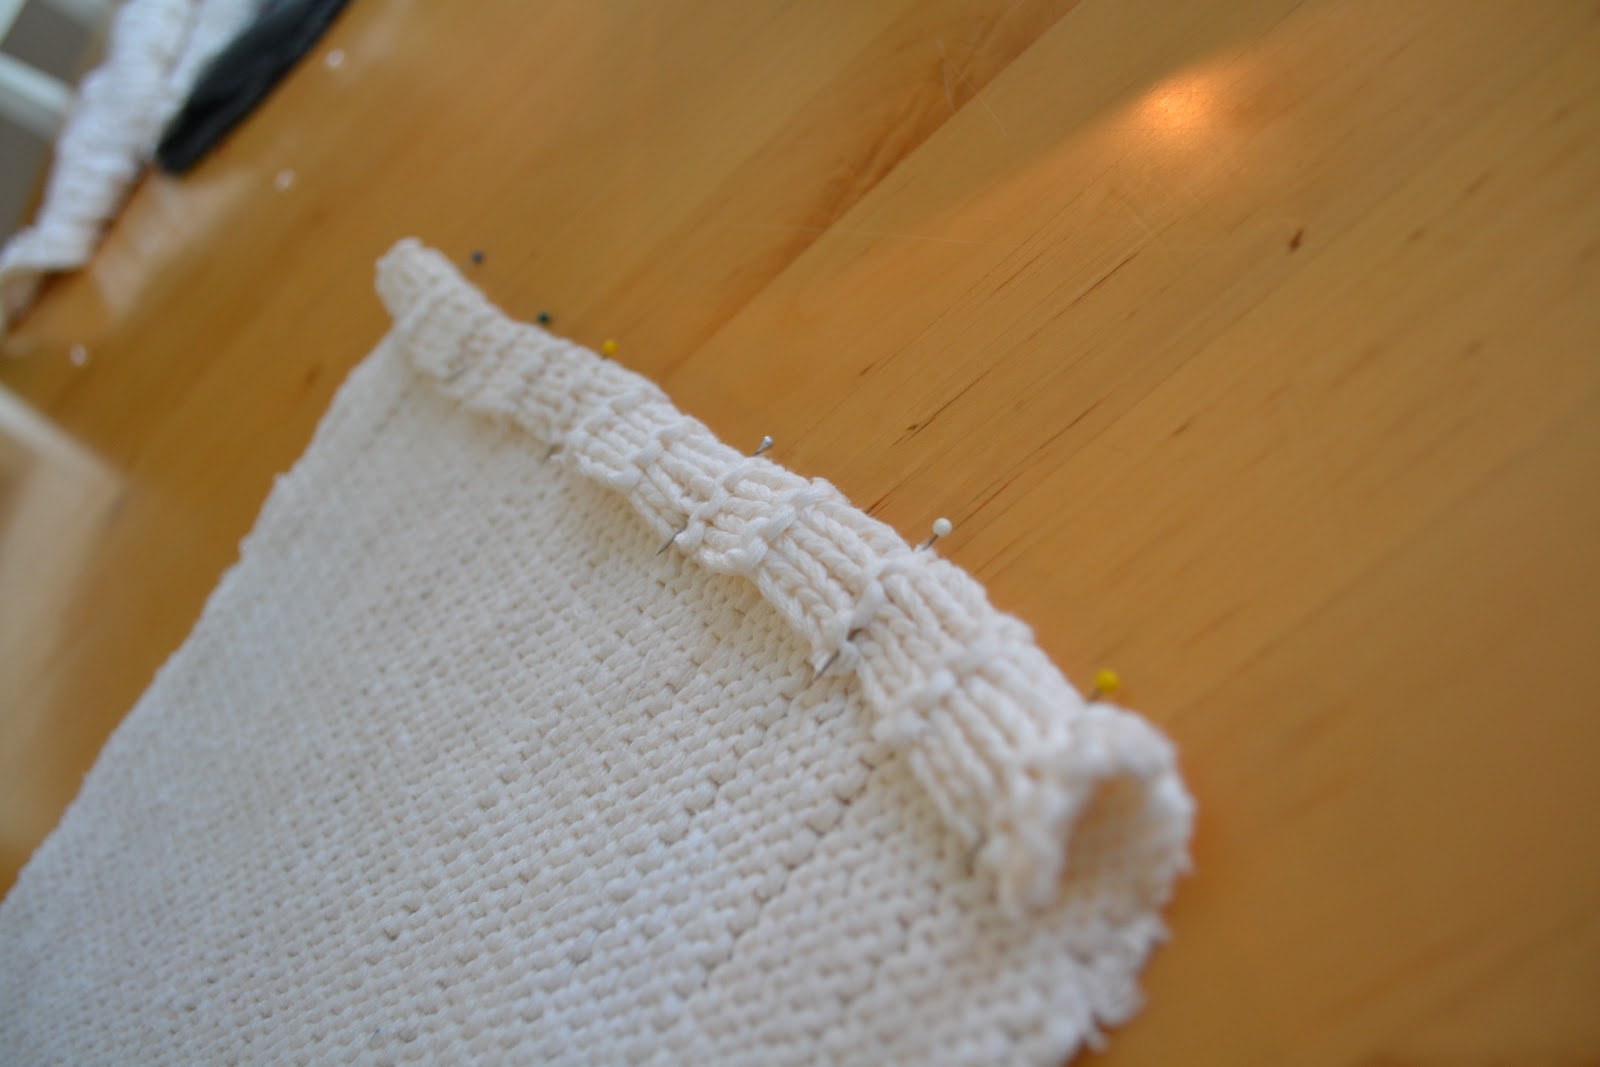
You have to pin, and sew the top parts of the stocking first – both the front and back panels. – – – – |
 |
| – – – –
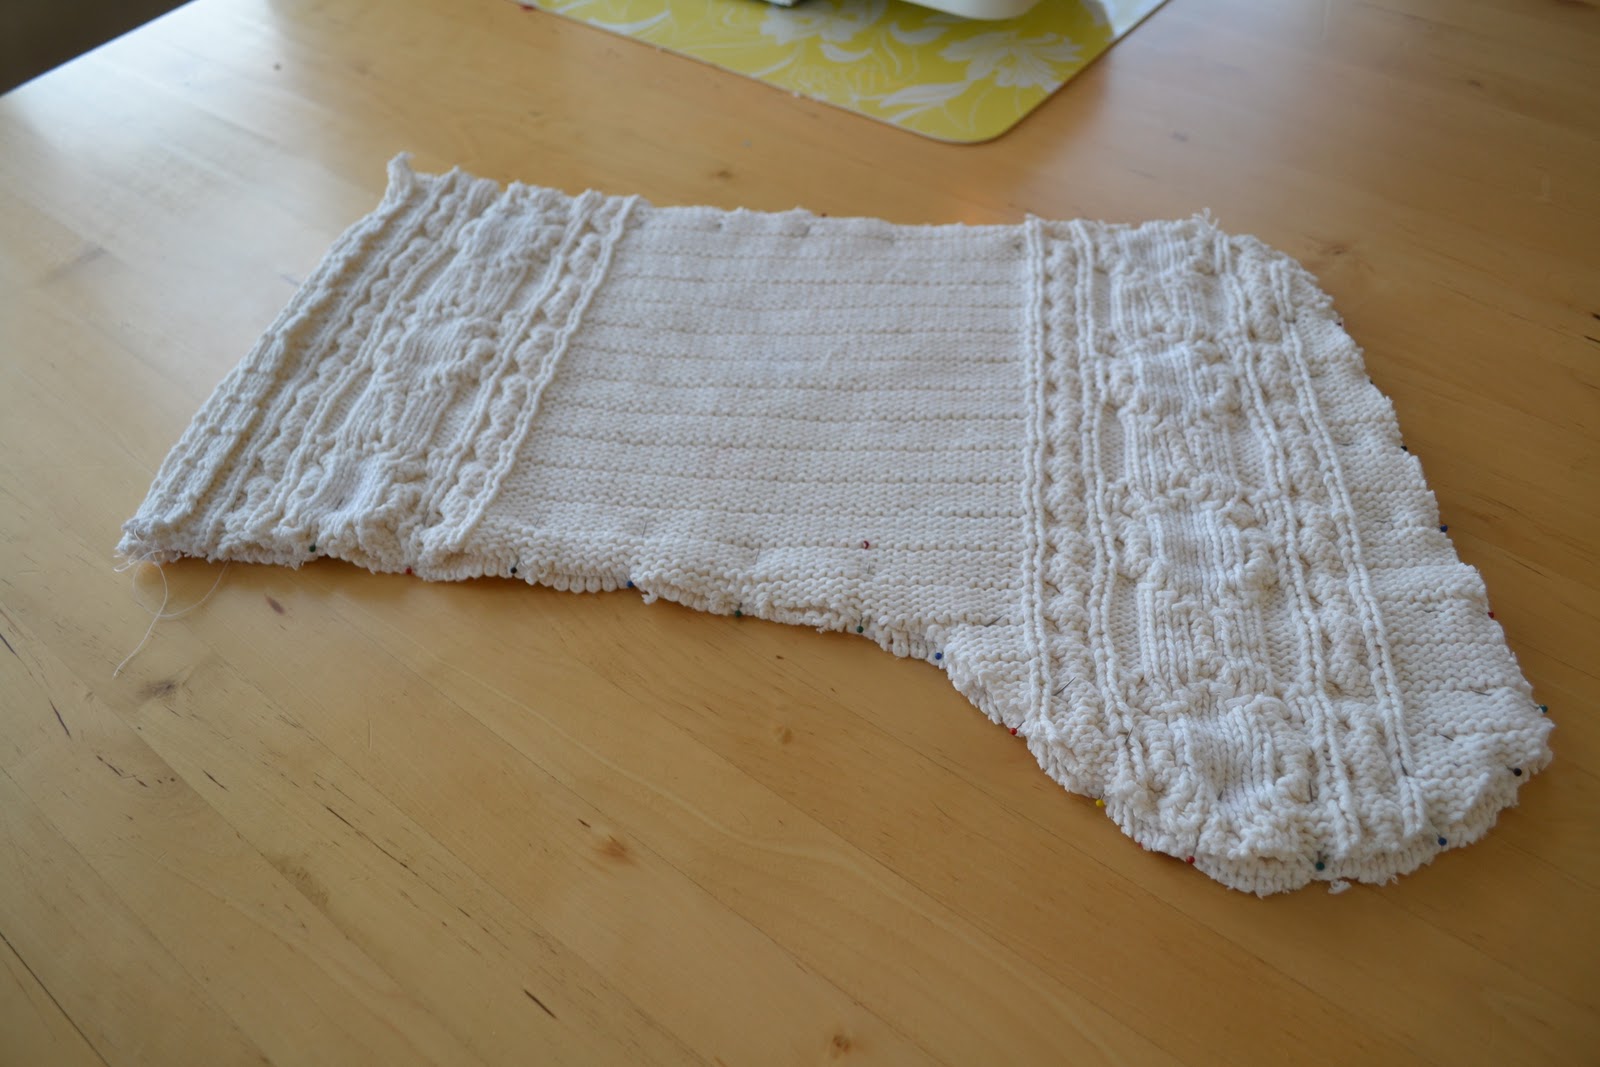
Then lay the panels back to back, the inside of the stocking facing out. The point here is to sew along the edges, then turn the stocking inside out when you are done sewing. I used my sewing machine (needle size 14), but you can do this by hand too! – – – – |
 |
| – – – –
After sewing the edges, I have turned it right side out. – – – – |
 |
| – – – –
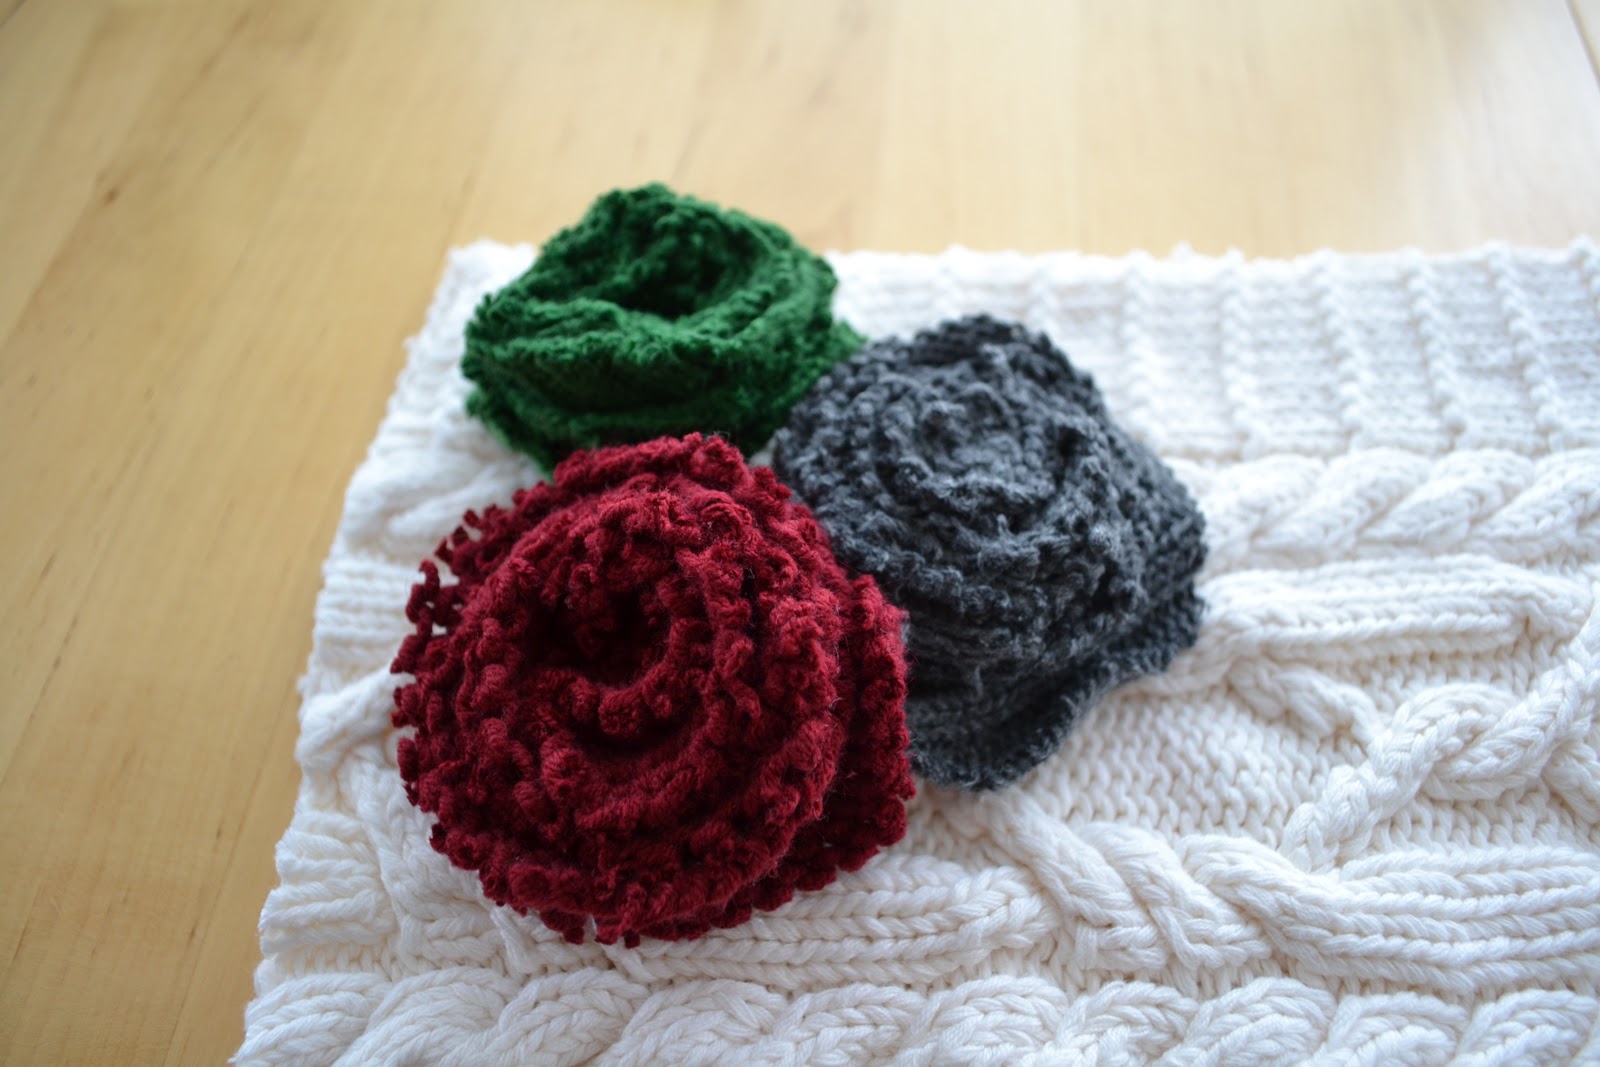
Now for the rosettes. This is where you can get creative and make as many as you want, in what ever colour, or fabric you desire. I wanted to have all of my stockings match somehow, so I used leftover scraps of material from each of the sweaters, and made rosettes. – – – – |
 |
| – – – –
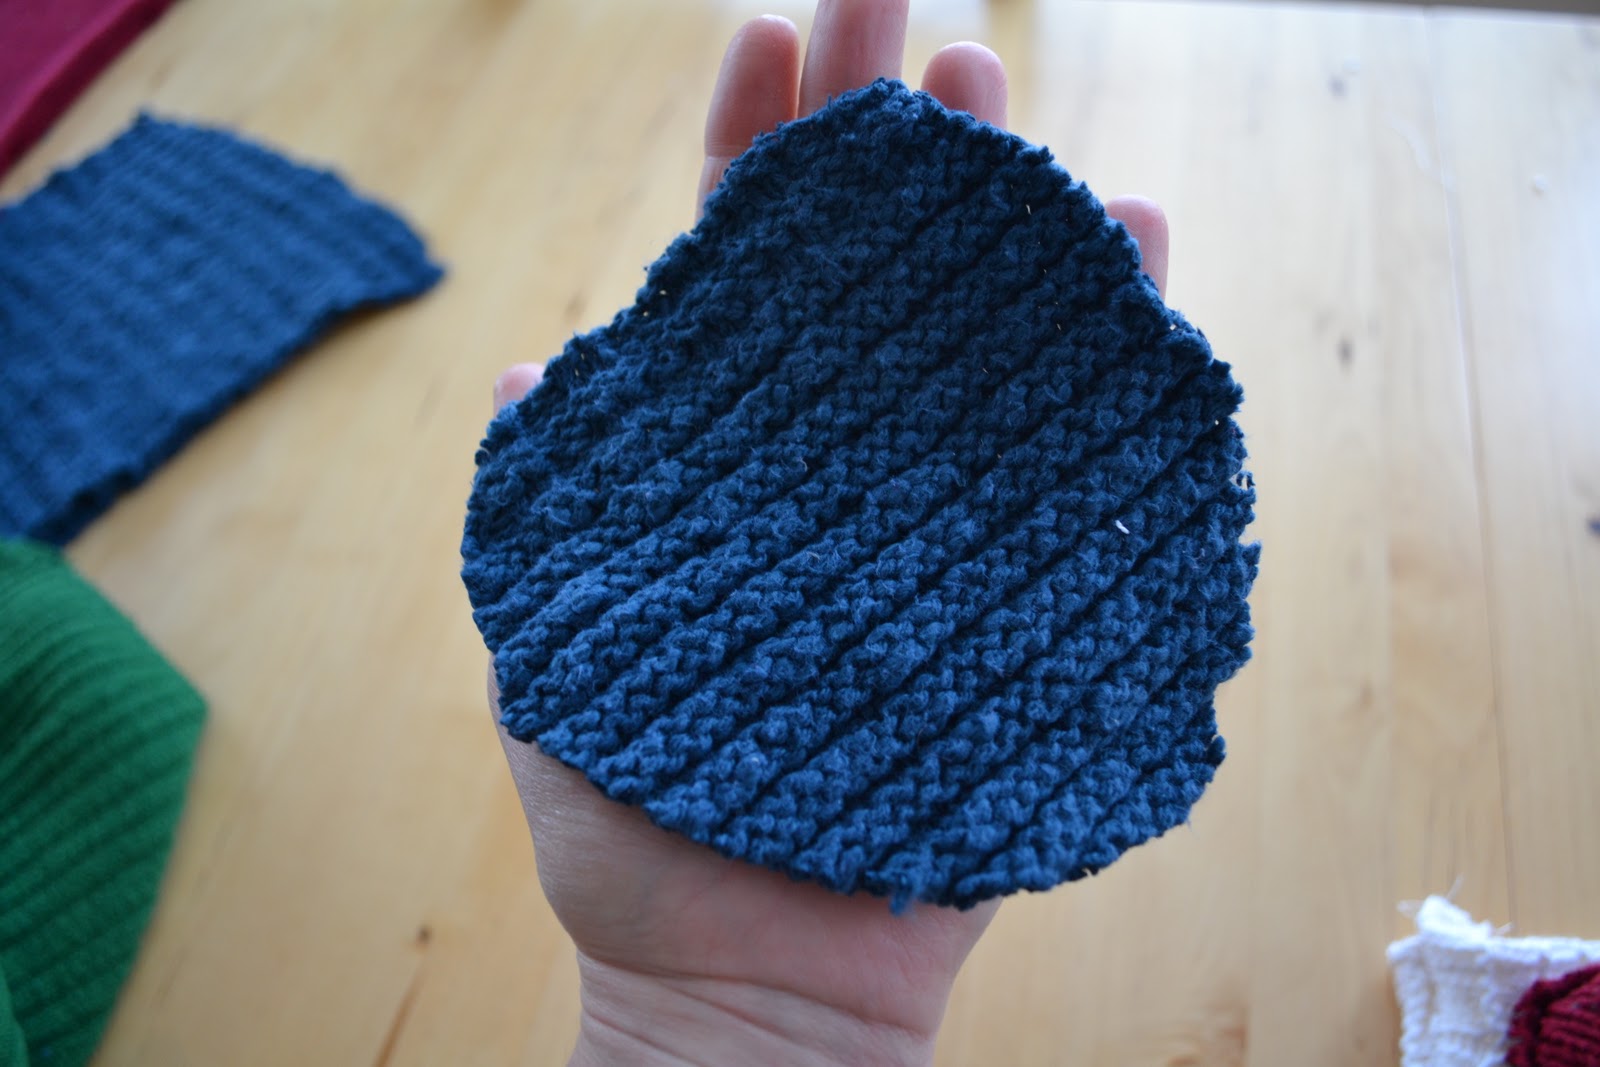
Cut out a circle piece of fabric (this is from leftovers of the blue stocking). The bigger the circle, the bigger the rosette. I just wanted small rosettes. – – – – |
 |
| – – – –
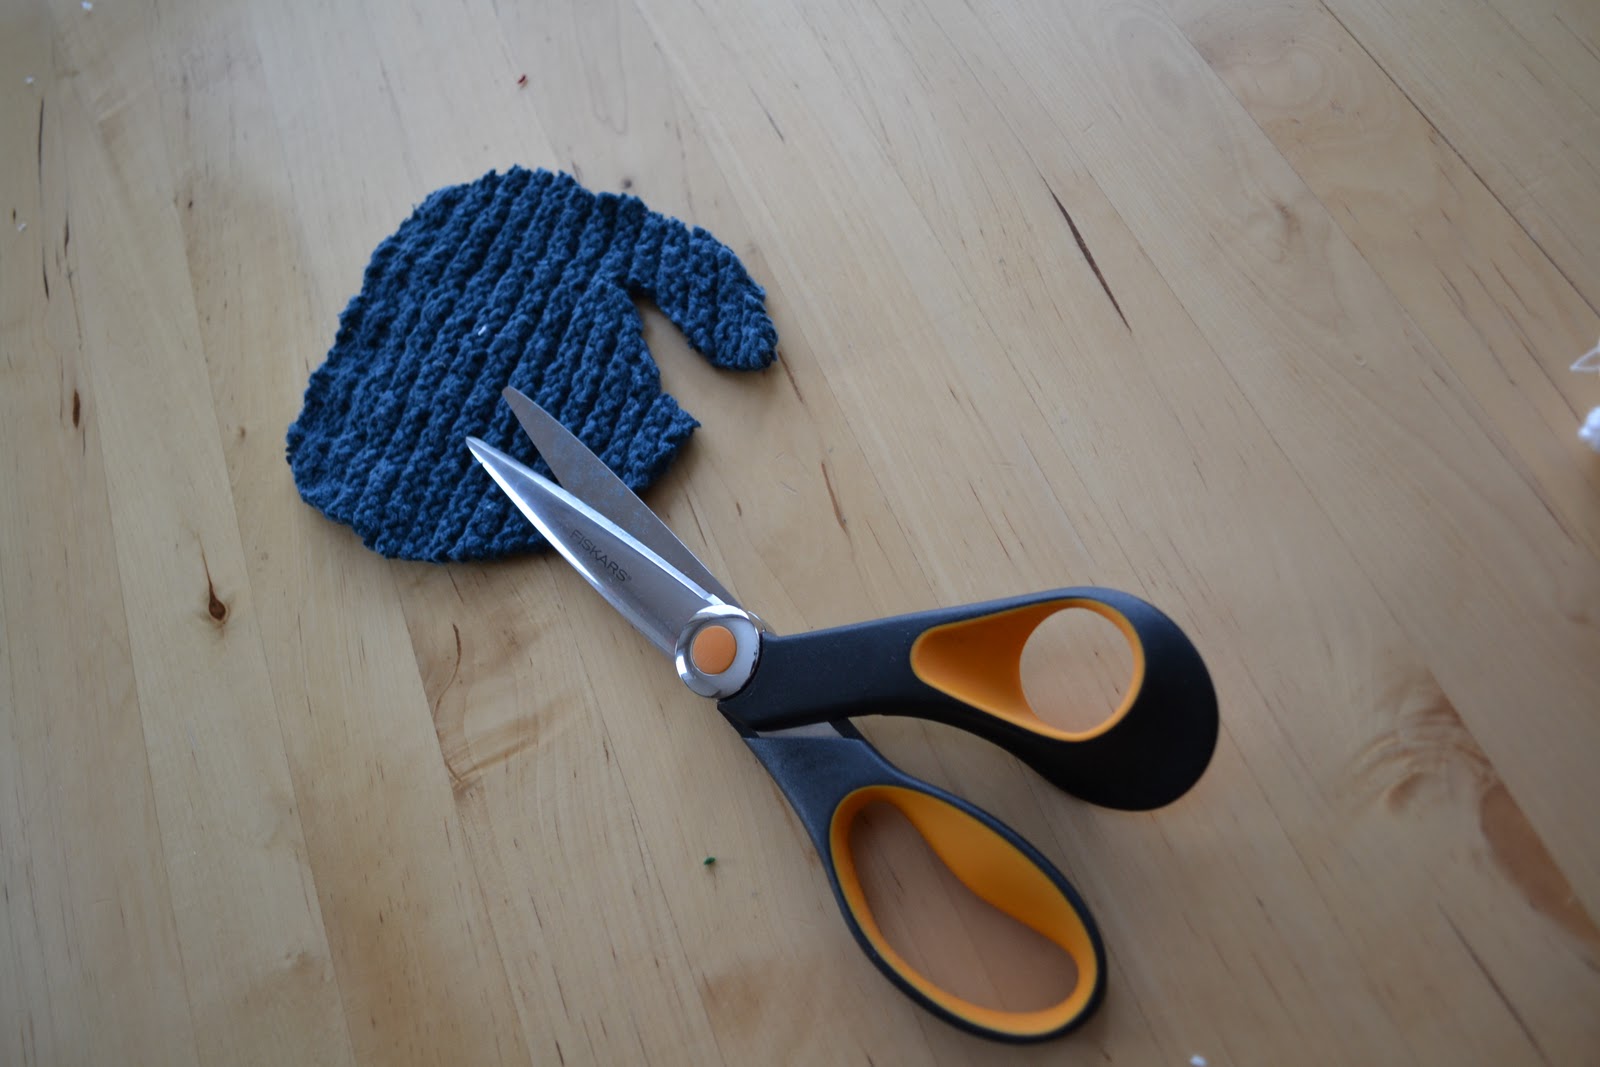
Then cut out a swirl, winding towards the middle (see below). The width was about 1 1/2 cm. – – – – |
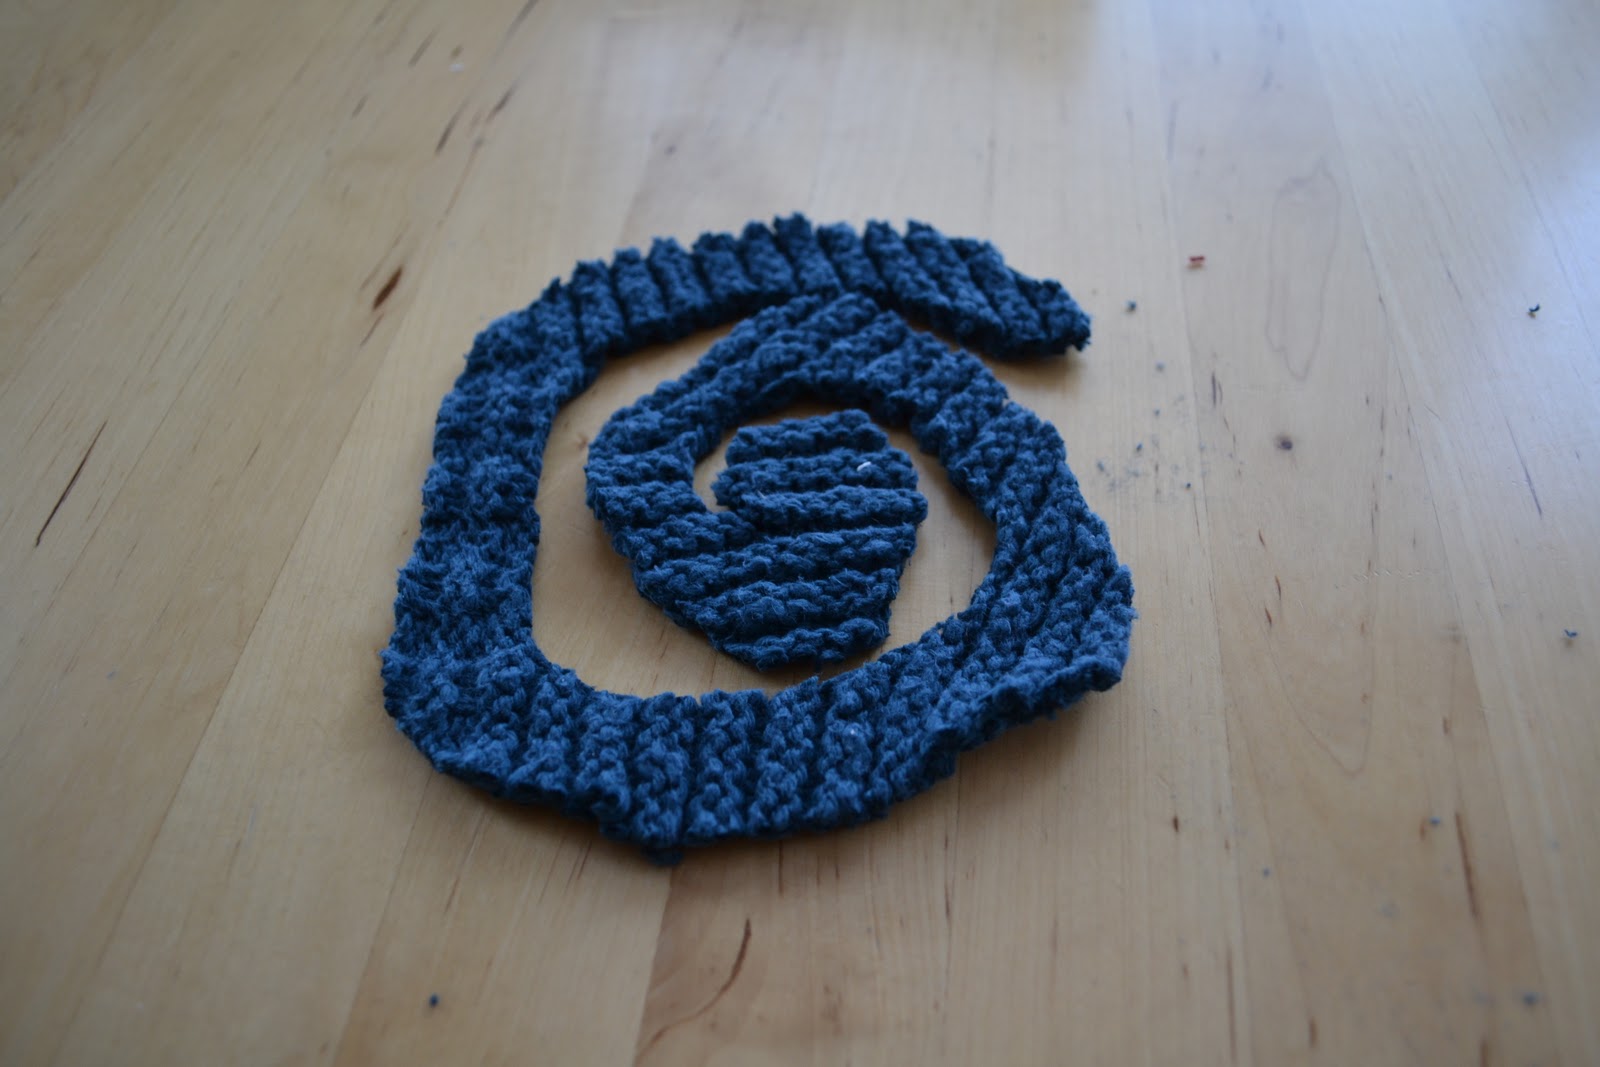 |
| – – – –
Now you are ready to roll! – – – – |
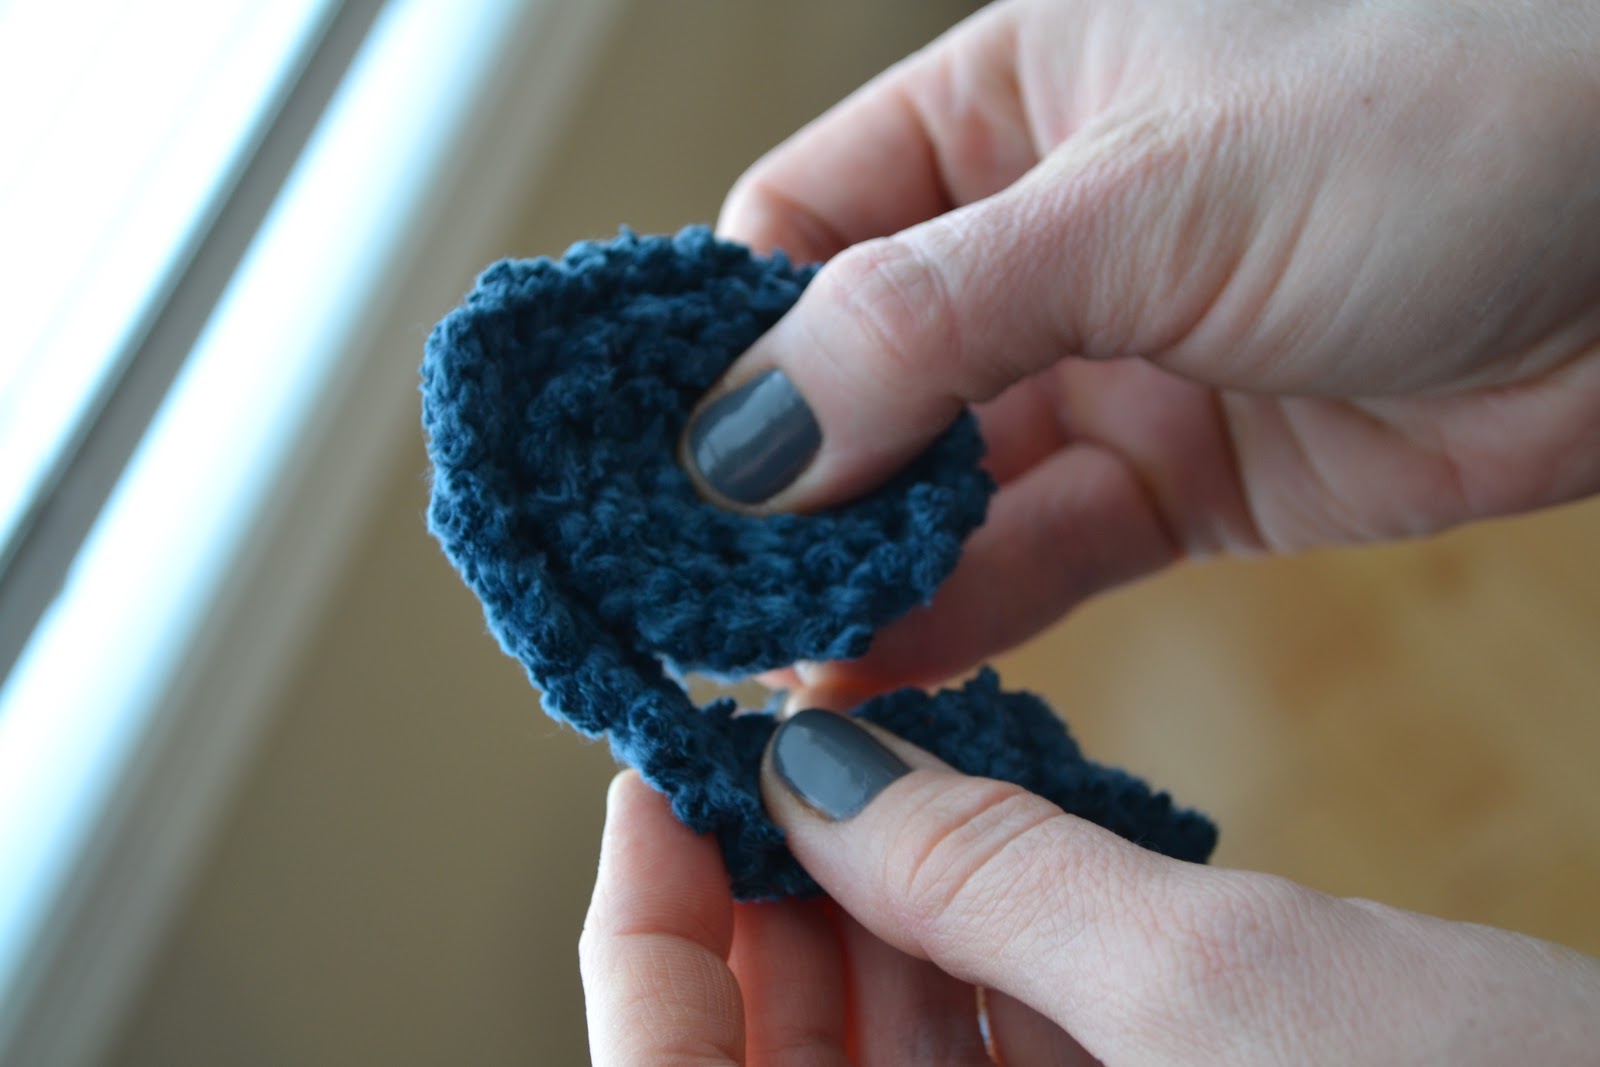 |
| – – – –
Start rolling from the outside of the swirl. Holding the centre tight, wrap the material around until it resembles a rose. You can make it as tight or loose as you would like. – – – – |
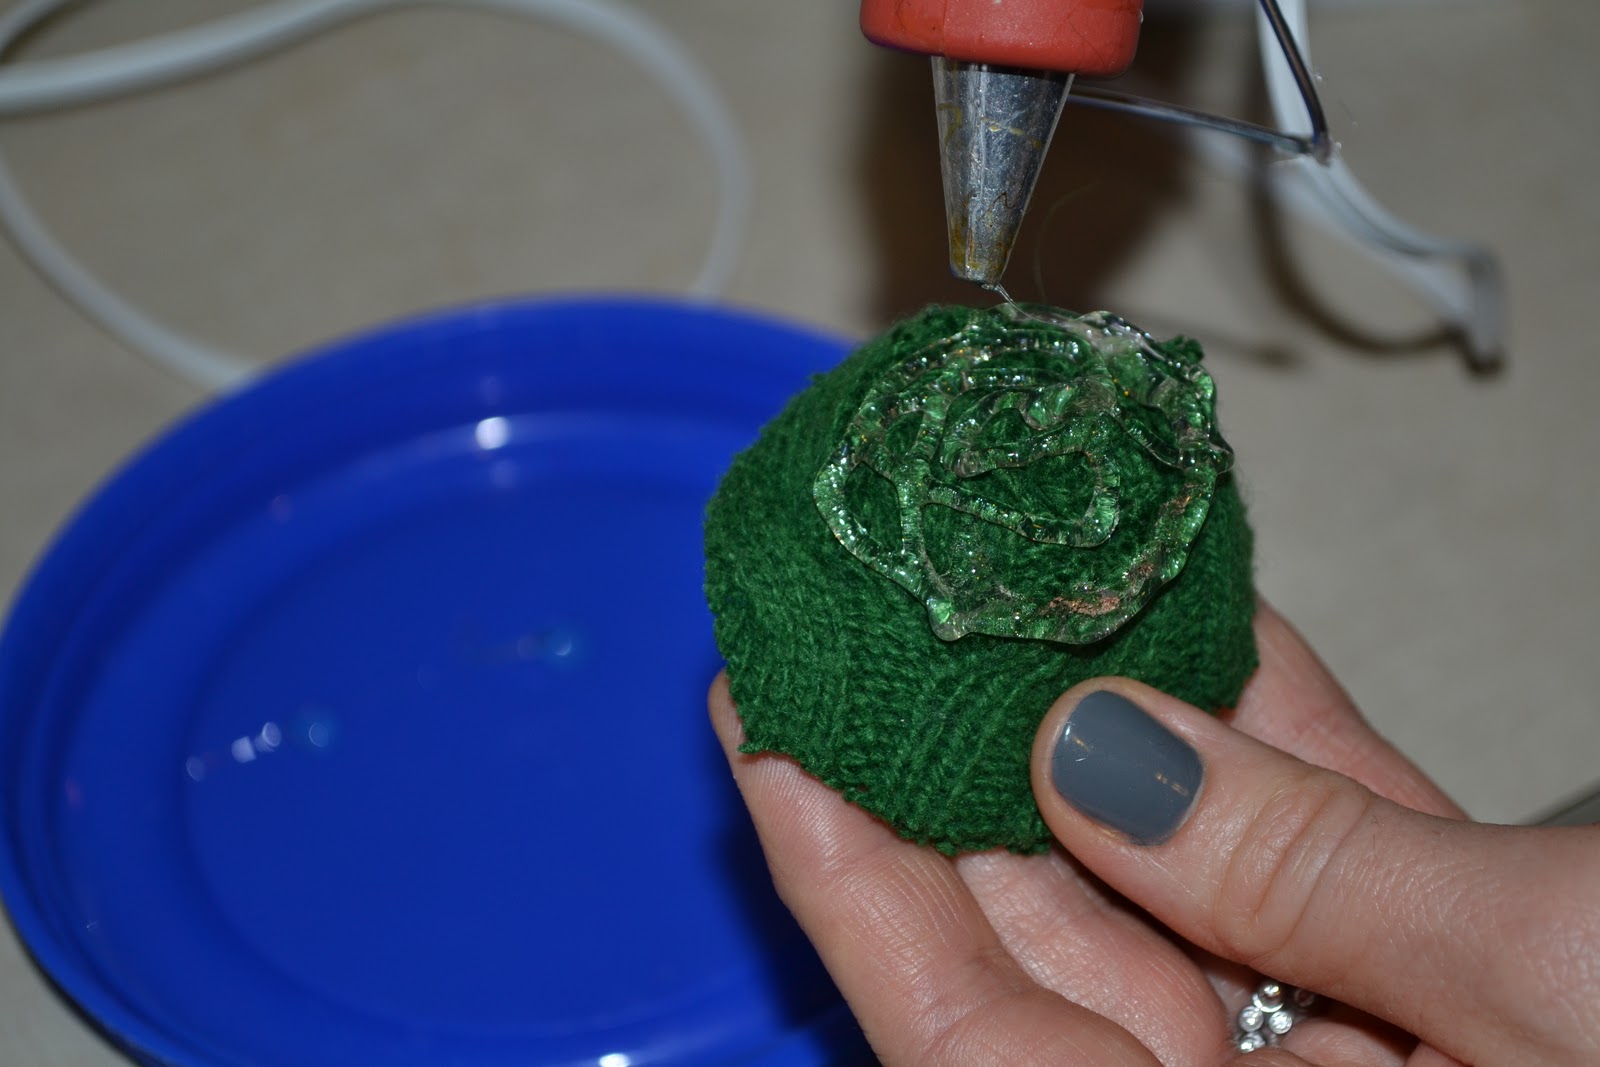 |
| – – – –
Then super easy, no sewing, just use a glue gun! I just glued the outer piece to close the rose, then covered the bottom of the rose with glue, and stuck it on to my stocking. – – – – |
 |
| – – – –
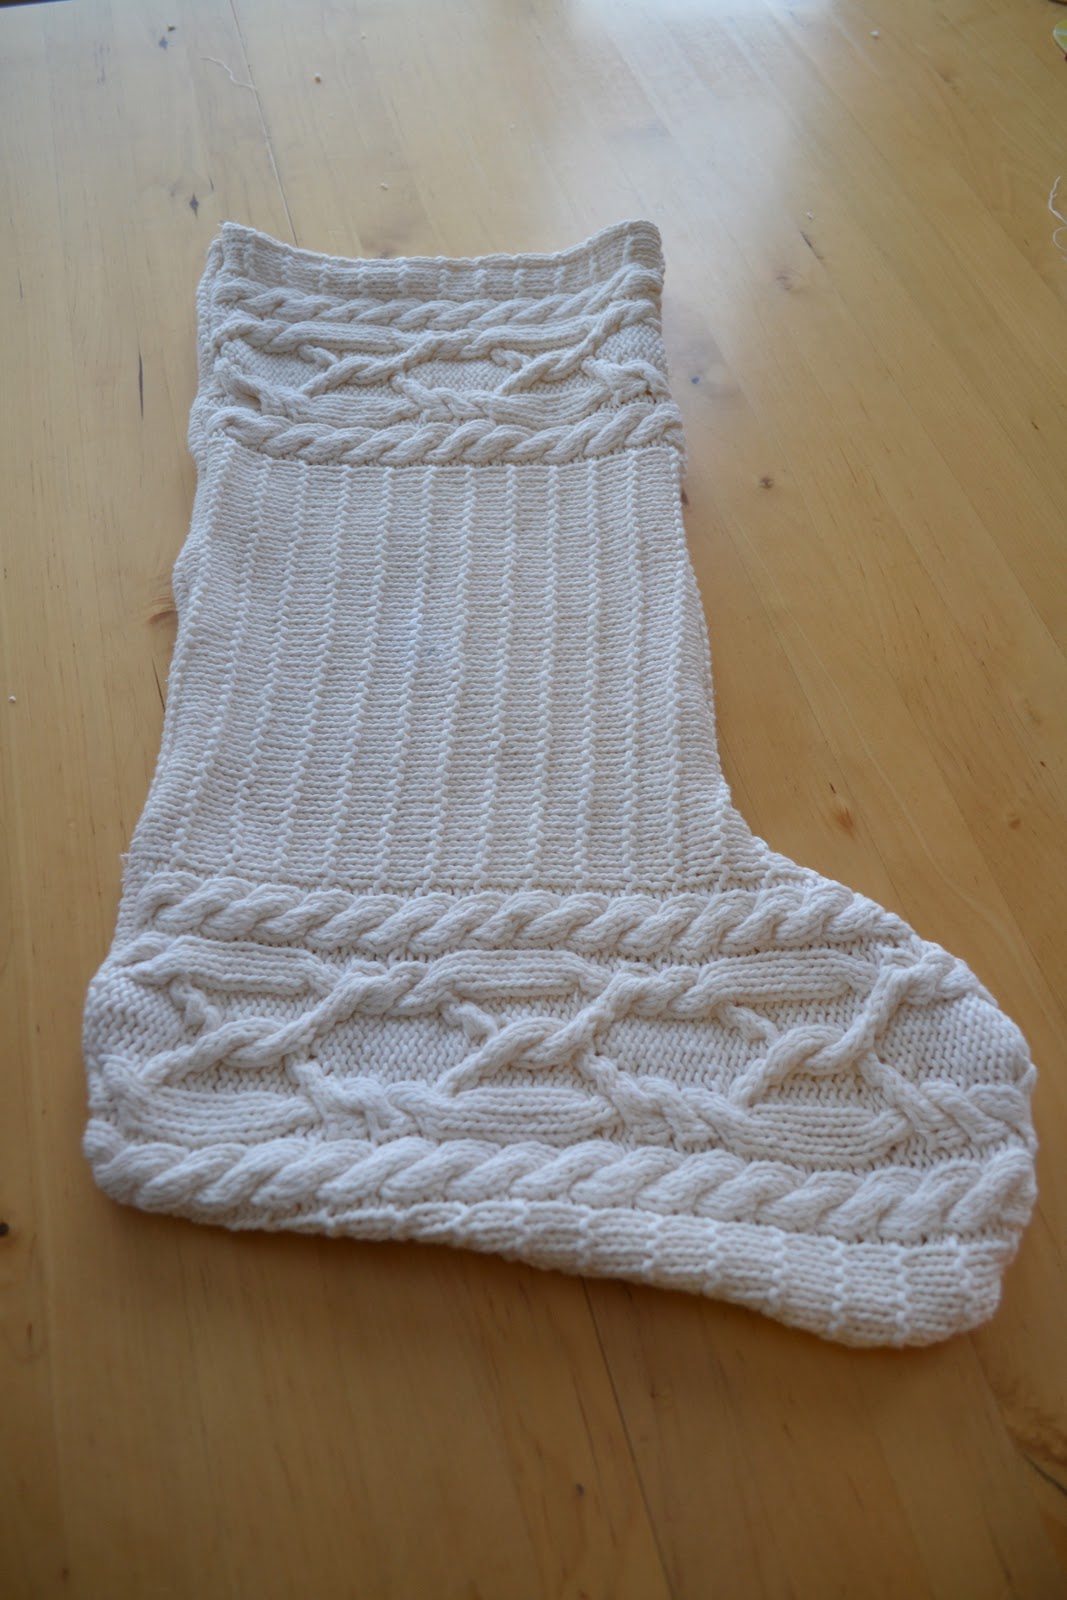
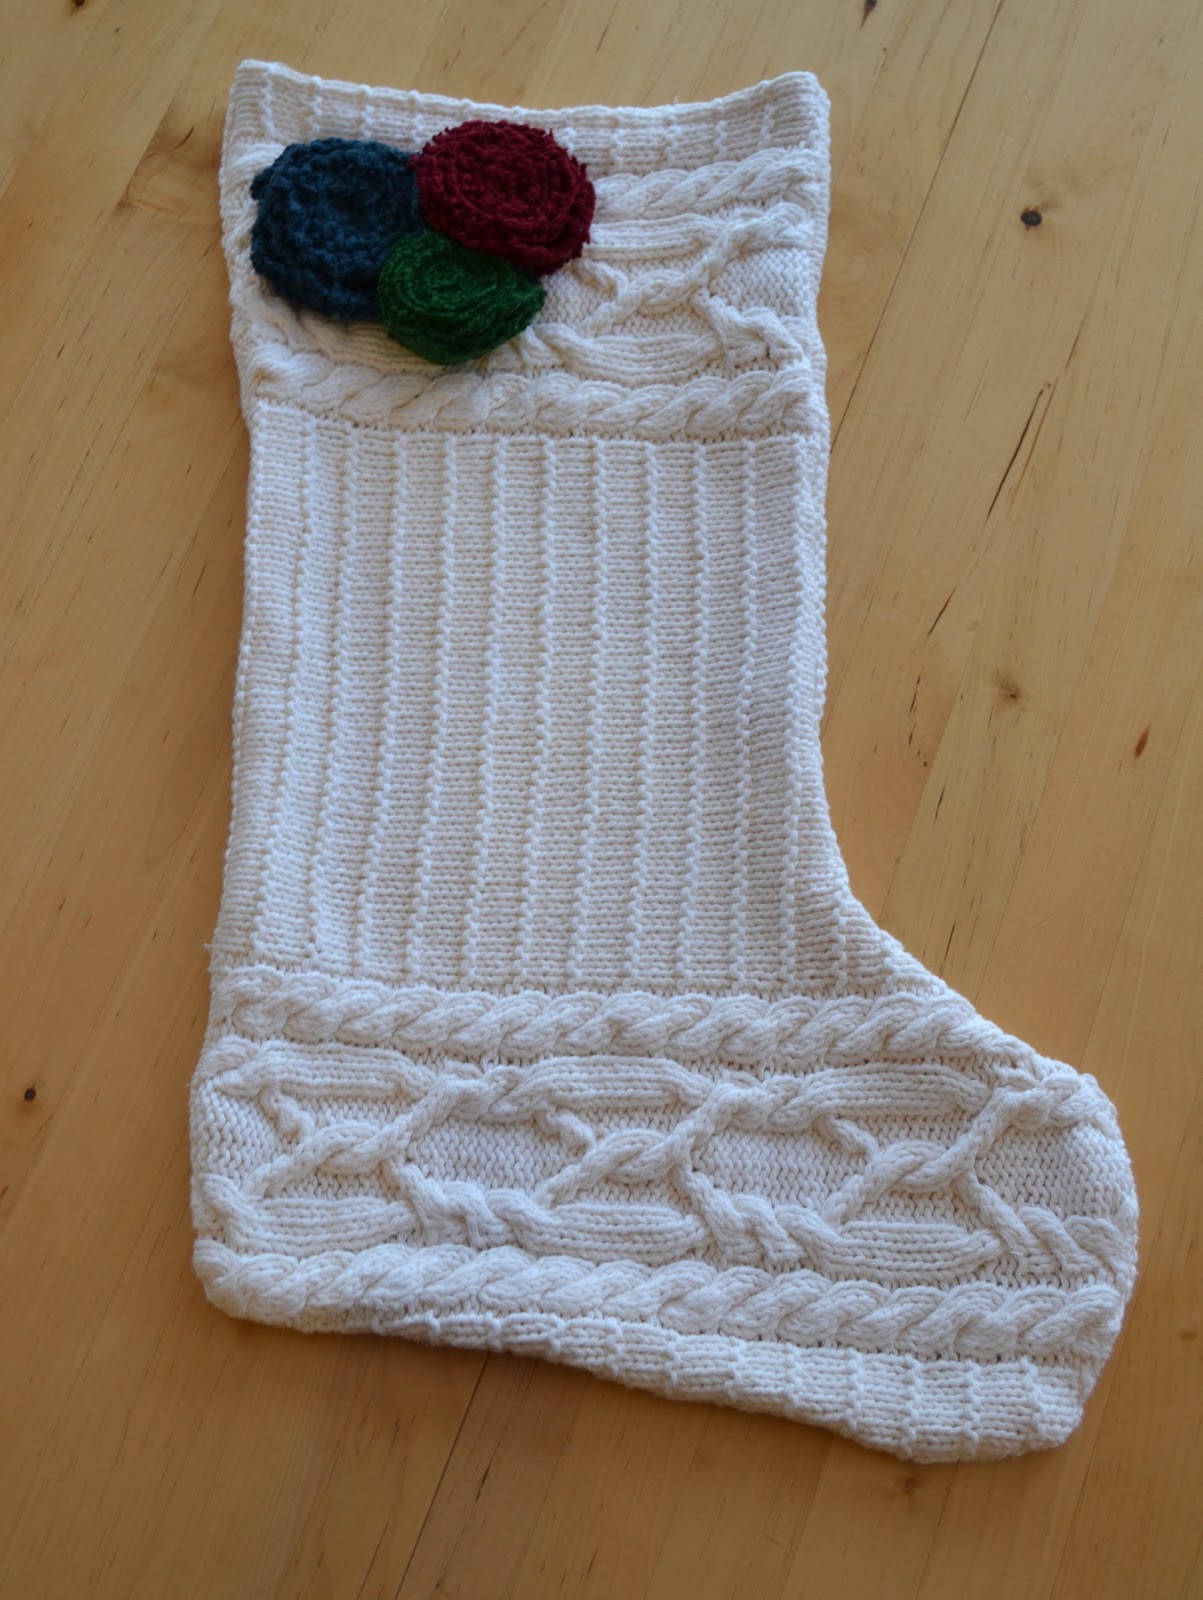
Voila! A homemade sweater stocking! This one is mine… – – – – |
Happy Crafting!


These are gorgeous- I’m in love! Just solved my stocking trouble this year. Thanks for the ideas!
Kisses!
Cute, cute, cute! The sweater stockings look so cozy, and I love the texture! Miki
Hello everyone, it’s my first pay a visit at this web page, and post is genuinely fruitful in favor of me,
keep up posting these types of articles.
I like that you’ve made it clear on what to do.